Ever taken the perfect photo, only to find an annoying shadow ruining it? It’s frustrating, right? Whether it’s a selfie, a product photo, or a shot of your pet, unwanted shadows can make even the best pictures look off. That’s why you need to how to remove shadows from a picture.
Anyone who snaps photos on their phone or camera can benefit from these techniques. In this article, I will share with you easy steps to remove shadows using various tools like Photoshop, Lightroom, and even free online options. Let’s dig in deeper to the main details.
Types of Shadows in Photography
Shadows are a big deal in photography. They add depth, dimension, and that extra bit of drama to your shots. But sometimes, they can be a total nuisance. They can mess up the vibe you’re going for. Let’s get to know the different types of shadows in pictures.
Hard Shadows
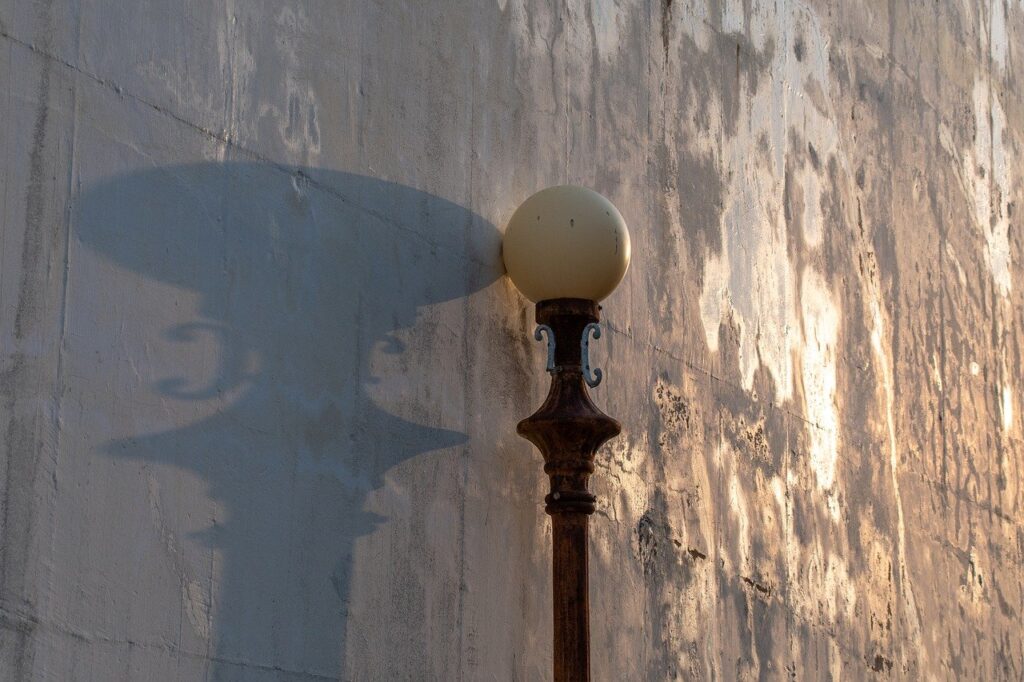
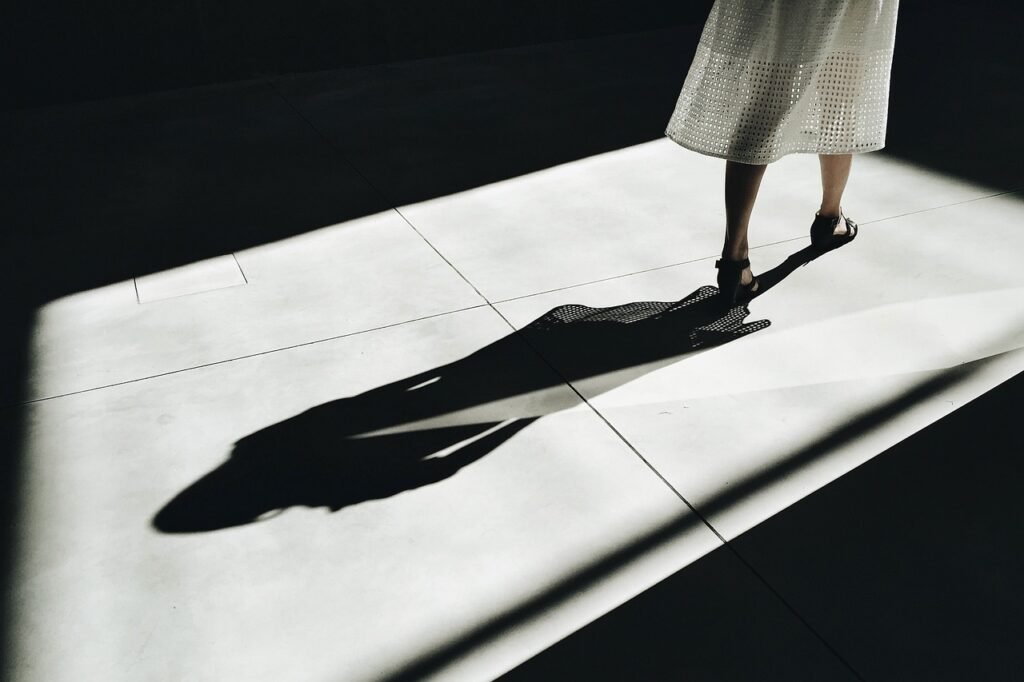
Hard shadows have super sharp edges. You get them when the light source is small and direct like the sun on a clear day or a camera flash. They can look pretty cool and dramatic but can also be unforgiving. Hard shadows are perfect for artistic shots, but maybe not so much for a portrait. It will make every wrinkle and bump highlighted in your pictures.
Soft Shadows
Soft shadows are the opposite. They are gentle with blurry edges, and created by a larger light source. You can think it like overcast skies or a softbox in the studio. They’re great for portraits because they smooth out the subject, and give a flattering look.
Unwanted Shadows
Then there are the pesky unwanted shadows. They show up when your lighting setup goes wrong like a flash casting an awkward shadow on the background. You need to do extra editing to fix them. If you are not so good with these kinds of works, then you need to work with professional shadow retoucher.

Best Software For Removing Shadows From A Picture
Right software will make the shadow removal process easier for you. It will make them look more polished and professional. I will share with you several software options to tackle unwanted shadows. Let’s take a closer look at them.
Photoshop
Photoshop is the gold standard for photo editing. It has powerful tools like the Healing Brush and Clone Stamp to make shadow removal a breeze. You can use advanced techniques like layers and adjustment layers for precise editing. It is often the market standard when you need to do advance photo editing.
Lightroom
Lightroom is fantastic for photographers who need to manage and edit large batches of images. User-friendly interface allows you to adjust shadows quickly with sliders. The Graduated Filter and Adjustment Brush tools can selectively lighten shadow areas. It will give you great control over your edits without compromising image quality.
GIMP
GIMP is a free, and open-source alternative to Photoshop. It also offers robust photo editing capabilities. You will find similar tools to Photoshop such as the Clone Tool and Healing Tool. While the interface may take some getting used to, it’s a powerful option for budget-conscious users.
Online Tools
If you prefer quick edits without downloading software, online tools like Pixlr are excellent choices. They offer user-friendly interfaces and essential editing features including shadow removal. While they may not be as powerful as desktop applications, they can effectively handle minor shadow issues.
How to remove a shadow from a picture? (Step-By-Step)
You can use Photoshop and remove a shadow from a picture pretty easily. In this way, you can make them cleaner and polished. In this section, you will get to know about the step-by-step procedure to get rid of shadow in pictures. Let’s slide down to the main details.
Step 1: Preparing the Image
First things first, you need to open your photo in Photoshop. Don’t forget to duplicate your background layer (just hit Ctrl+J or Cmd+J). This way, you can edit without ruining the original image. Zoom in on the shadow area that needs some retouch. Take a quick look at the shadow. Is it hard and sharp or soft and diffused? It will be helpful in the next step.
Step 2: Using the Healing Brush Tool
A soft brush is ideal for blending. Grab the Healing Brush Tool from the toolbar (shortcut: J). Set your brush size just a bit bigger than the shadow. After that, hold Alt (Option on Mac) and click on a clean area nearby to sample. Gently paint over the shadow with the sampled area. If needed, resample for a natural look.
Step 3: Using the Clone Stamp Tool
You need to choose the Clone Stamp Tool from the toolbar (shortcut: S). Softer brushes work well for smooth transitions. Again, hold Alt (Option on Mac) to sample an area close to the shadow. Carefully clone over the shadow. Follow the texture and pattern of the surrounding area. This is great for larger shadows.
Step 4: Adjusting Levels and Curves
You need to go to your Layers panel and add a Levels or Curves adjustment layer. Keep it subtle, because less is often more. If it affects the whole image, use a layer mask to restrict the changes to just the shadow areas.
Step 5: Fine-tuning with Dodge & Burn
You need to grab the Dodge Tool (shortcut: O) and set it to “Midtones” with a low exposure (about 5-10%). Lightly paint over the shadow area to brighten it up. If something looks too light, use the Burn Tool (also O) to darken those spots. Take your time to get that natural look!
Tips for Avoiding Shadows During Photography
Shadows can be the worst enemy of a photographer. It will often distract from the main subject and create unwanted contrast. I will share with you some helpful tips to minimize or avoid shadows while shooting. Let’s take a closer look at them.
- Shoot during the golden hour (early morning or late afternoon) when the light is softer.
- If you’re shooting in direct sunlight, a diffuser can soften the light and minimize shadows.
- You should change your shooting angle or position your subject to avoid direct light.
- Try using multiple light sources to illuminate your subject from different angles.
- Don’t forget that you can always fix shadows in post-processing if they do appear.
Conclusion
You already know how to remove a shadow from a picture. I tried to show you different types of shadows that you will often need to deal with. Besides, I also marked the popular software options like Photoshop, Lightroom, GIMP, and online tools for shadow removal. Don’t forget to follow the tips and remove shadows from your pictures. Stay with us for more updates shortly.


Pingback: What is the Best Time of Day for Outdoor Photos? - Capture the Perfect Shots! - Fast Clipping Path - Professional Photoshop Photo Editing and Retouching Services