The time you choose for outdoor photography can completely change the look and feel of your pictures. Good timing helps you capture soft, flattering light. Bad timing can leave you dealing with harsh shadows or dull colors. If you know when to shoot can save you a lot of frustration and make your photos truly stand out.
If you don’t understand how light works at different times of the day, You might get squinting subjects, overexposed highlights, or flat-looking landscapes. That’s why understanding the best times to shoot is so important.
In this article, you’ll learn about the best time of day for outdoor photos. By following these you can easily figure out what is the best time of day for outdoor photos. Let’s hover down to the main details

The Impact of Time of Day on Color Tones in Photograph
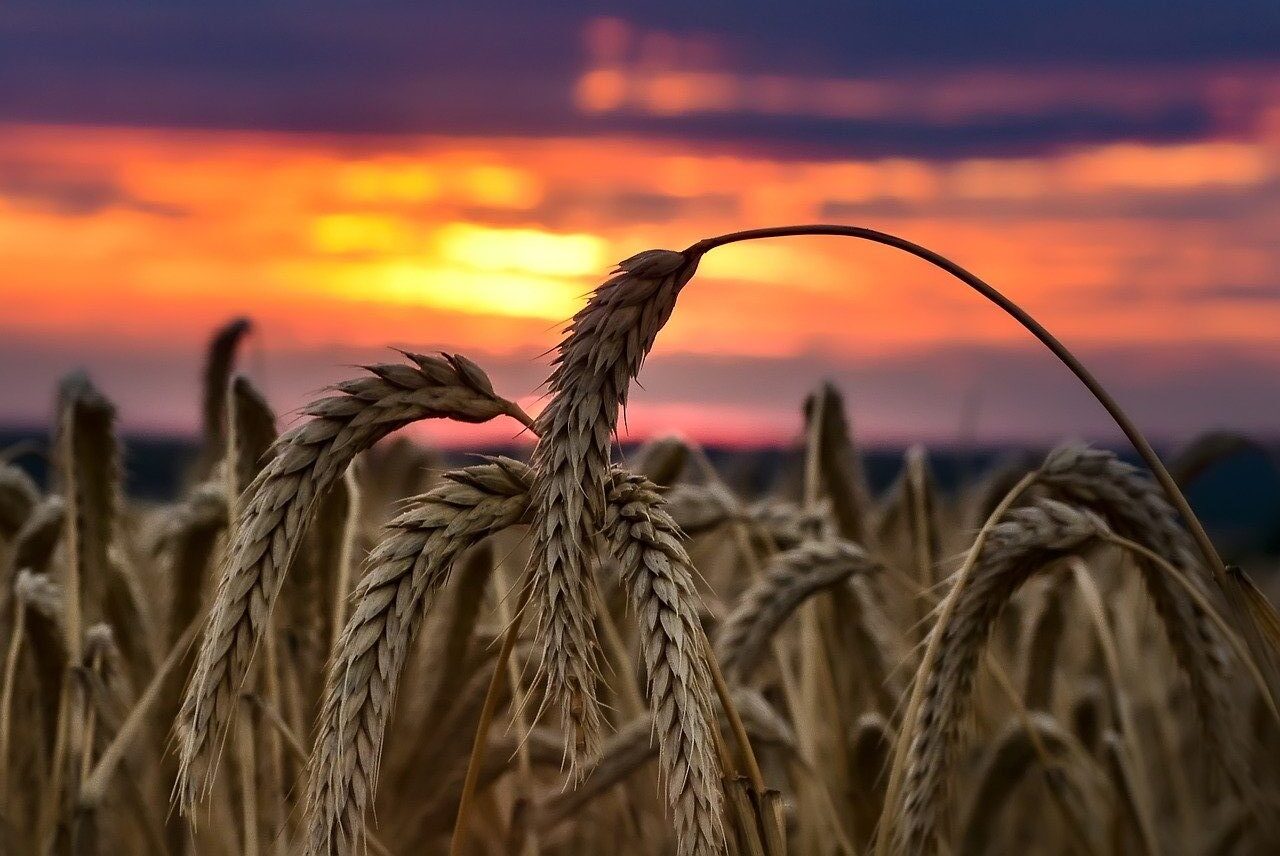
The time of day plays a big role in how colors appear in your photos. Morning light is very bright during the golden hour right after sunrise. It adds a warm, golden glow and also makes it soft and flattering everything to look magical. Portraits shine, landscapes pop, and even ordinary scenes feel special. If you’re trying to take pictures in dreamy tones, this is the perfect moment to click your pictures.
In the midday, the sun gets high and things start to change. Colors look cooler and often harsher. Shadows are sharp and also highlights can blow out. You might notice colors feeling washed out or flat when there are bright spots. It’s not all bad—midday light can work for dramatic effects or vibrant cityscapes.
Usually on the day the golden hour returns before sunset, the light softens again. It’s warm, rich, and forgiving. Skin tones look great and landscapes bring in a cinematic vibe. After the sun dips below the horizon, the blue hour steps in. This time it pulls cool, bluish tones, perfect for moody shots or cityscapes with glowing lights.
Each time of day tells a different story through color. Morning feels fresh, midday is bold, and evening is mellow. By getting to know these tones, shifts will help you plan better and capture the mood you want. The sun gives us different tones several times of the day. So, If you keep an eye on the clock then the sun will help you to take pictures the way you want.

What is the Best Time of Day for Outdoor Shots?
The best time of day for outdoor shots depends on the kind of light you need. If you want soft, golden tones. The golden hour is going to be your first choice. This magical time happens just after sunrise and right before sunset. The light is warm and flattering, perfect for portraits, landscapes, or even those casual shots you plan to frame later.
When it’s about the blue hour. This is the period after sunset or before sunrise when the sky glows with cool, bluish tones. It is very suitable for moody and dramatic photos. Cityscapes, waterscapes, and silhouette shots look incredible at this time.
Mid-morning and late afternoon also work well when the golden hour feels too rushed. The sun is still at a low angle, creating soft light without harsh shadows. These times are great for nature shots or casual outdoor portraits.
Midday is the toughest time for photography. The sun is high and harsh, casting deep shadows and bright highlights. Colors can look washed out, and your subjects might squint endlessly. If you must shoot at noon and find some shade or use tools like diffusers to soften the light.
So, the best time of day for outdoor photography totally depends on how you want the picture.It also depends on the vibe you’re going for. Morning is fresh, midday is bold, and evening is mellow. Plan your shoot around the light and your photos will satisfy you enough.
Why Timing Matters for Outdoor Photography?
The most important thing in outdoor photography is timing. The position of the sun directly affects the quality of light, and that light can make or break your shot. Shoot in the wrong light, and even the most stunning landscape can look flat or overly harsh. Shoot in the right light, and you can turn an ordinary scene into something magical.
Early mornings and late afternoons are often the best times for outdoor photography. When the golden hour starts, the sunlight is soft, warm, and diffused. It gently lights your subject without casting harsh shadows. Portraits look natural, landscapes glow, and the overall vibe feels peaceful and inviting.
On the other hand, Midday can be tricky. The sun is directly overhead, creating harsh shadows and overexposed highlights. Colors can appear washed out, and your subjects might struggle with squinting.
In the evening, it brings the blue hour. Which adds a cool, moody quality to your photos. This is perfect for cityscapes, waterscapes, or silhouette shots.
When you know that the shoot isn’t just about light. It’s about the story you want to tell. Morning feels fresh, midday is bold, and evening feels calm. When you understand how timing affects your photos, you can plan better and capture the shot you really want.
Light Quality vs. Light Quantity: What Matters Most?
Sometimes, Lighting can make or break your photographs. It’s the untold hero that decides whether your picture looks stunning or just okay. Is it more important to have a lot of light or the right kind of light? The light quality and quantity both matter, but they play different roles.
Let’s slide it down so you can figure out what works best for your shots.
What is Light Quantity?
Light quantity is simply how much light is available. A bright, sunny day at noon has a high light quantity. A dimly lit room in the evening has low light quantity. While having enough light is important, too much light can create problems like overexposed highlights and harsh shadows.
What is Light Quality?
Light quality is all about how light behaves. It can be soft, diffused, harsh and direct. Soft light wraps around your subject and creates gentle shadows. Which is perfect for portraits or landscapes. On the other hand, Harsh light creates sharp contrasts and bold textures. It works well for dramatic or creative shots but can be challenging for general use.
Balance of Light Quality and Quantity
If you want to click pictures then you need both light quality and quantity. Too little light and your image looks dark and muddy. Too much and you lose important details. If you find the right balance then it means adjusting your approach based on the situation. You can use tools like reflectors, diffusers, or even natural elements like shade to control both quality and quantity.
Soft Light vs. Harsh Light
Soft light is one of the perfect tones to get for outdoor photography. It’s flattering, forgiving, and easy to work with. Think of early mornings or late afternoons, it’s perfect for golden hour shots. Harsh light, like the midday sun, is less forgiving but can be great for bold, high-contrast images. Both have their uses, so it’s about choosing the right one for your needs.
Camera Settings: Light Quantity vs. Light Quality
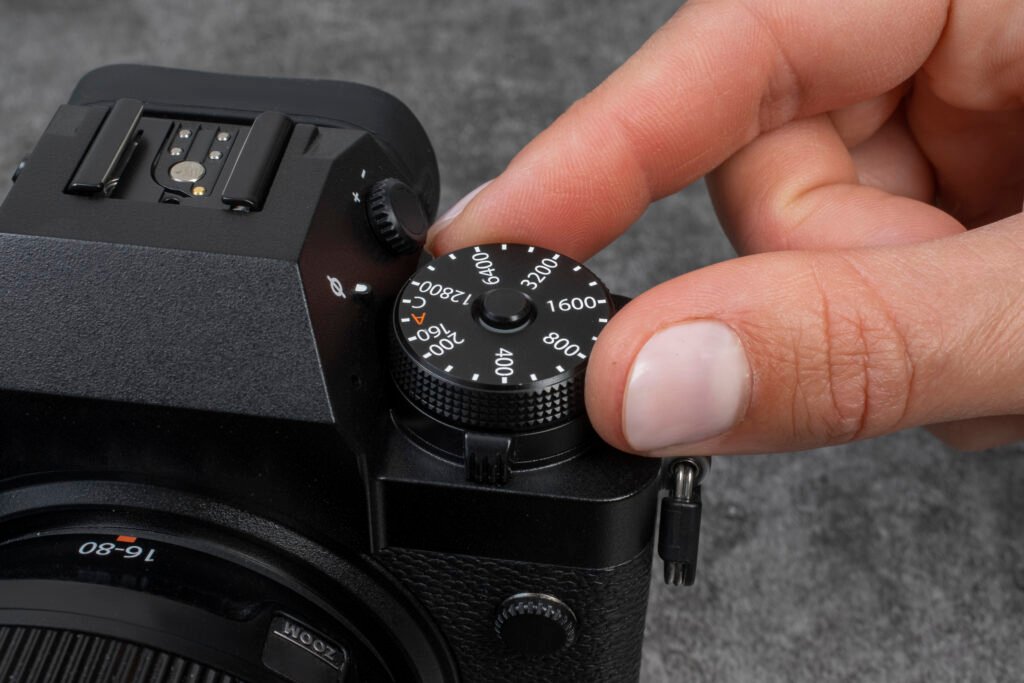
Your camera settings can help you manage both light quality and quantity. Adjust your ISO, aperture, and shutter speed to control how much light enters the camera. For harsh light, lower your ISO or use a faster shutter speed. For low light, open up the aperture or increase the ISO. A little tweaking can go a long way.
Midday Photography: Challenges and Solutions
Midday might not be your favorite time for photography. The sun stays blazing, shadows get harsh, and highlights are often too bright. But not every shoot can happen during the golden hour. Sometimes, you have to face the midday sun. With the right tricks, you can still take great photos.
Let’s take a closer look at the details to prevent the challenges and easily solve the issues.
Challenges:
- Tricky Midday Issues
Midday light is strong and direct. The sun sits right overhead and gives you plenty of light but not always the best kind. You’ll notice sharp contrasts and very little room for soft, flattering tones. This light can work for dramatic effects, but it’s not too easy to handle.
- The Harsh Reality of Overhead Sunlight
Overhead sunlight can be intolerable. It casts deep shadows under the eyes, nose, and chin. Faces can look uneven, and colors might appear too vibrant or washed out. Sometimes, it’s a struggle even for experienced photographers.
- Common Problems with Midday Photography
One of the biggest issues is overexposure. Bright highlights can lose detail, while deep shadows create unwanted contrast. Another problem is the intense glare and also the reflective surfaces like water or glass. These common issues can ruin your good shots.
Solutions:
- Usage of Reflectors to Soften Shadows
Reflectors are lifesavers during midday. They bounce light back onto your subject. It fills in those harsh shadows. They’re lightweight, affordable, and super easy to use. Even a simple white sheet can work as a reflector if you’re in a pinch.
- Camera Settings Adjustment
Your camera settings can help you manage the intensity of midday light. Use a low ISO to reduce brightness. A faster shutter speed can prevent overexposure. If shadows are too dark, adjust the aperture to let in more light.
- Shadows and Highlights
Midday is all about shadows and highlights. Instead of fighting them,you should try using them creatively. Look for patterns, textures, or interesting shapes created by the shadows. This adds depth and drama to your photos. If the contrast feels overwhelming, find some shade to soften the light.

Location Scouting for the Best Light at Any Time of Day
Location scouting is a game-changer when it comes to finding the best light for your photos. It’s not just about picking a pretty spot; it’s about understanding how light interacts with the scene. The position of the sun, the time of day, and even the surrounding landscape all play a role. A little planning goes a long way in capturing the perfect shot.
Start by visiting the location at different times of the day. Early morning gives you soft, golden light, while midday can create harsh shadows. Late afternoon brings the warm tones of the golden hour. Each time offers unique lighting, so knowing how the light behaves in your spot is key.
Look for natural light modifiers. Trees, buildings, or hills can cast helpful shadows during the harsh midday sun. Open areas like fields or beaches are ideal for golden hour or sunset photos. Pay attention to reflective surfaces like water or glass, which can add interesting effects or ruin your shot if you’re not prepared.
Don’t forget to consider the season and weather. Clouds can soften midday light, while winter’s low sun creates longer shadows. The more you understand your location, the easier it is to find the perfect light.
A Beginner Guide to Click Photos in Natural Lighting
Natural lighting is a beginner photographer’s best option to choose. It’s free, available almost everywhere, and doesn’t require fancy equipment. But using it effectively takes some practice.
Let’s dive into the steps to make the most of natural light and get photos you’ll love.
Step 1: Choose the Right Time of Day
The lighting changes throughout the day, and timing matters. Early morning and late afternoon are the best times. These are the golden hours when light is soft and warm. Avoid shooting at noon unless you want harsh shadows and squinting subjects.
Step 2: Position Your Subject Carefully
The direction of light can change everything. Place your subject so the light falls softly on them. Side lighting adds depth, while front lighting gives an even tone. Avoid placing your subject directly under the midday sun unless you love hard shadows.
Step 3: Use Natural Reflectors
Look for light surfaces around you. A white wall or even the ground can bounce light back onto your subject. This reduces shadows and makes your photo look balanced.
Step 4: Find the Shade
If the sun is too harsh, move your subject into the shade. This creates softer light and avoids overexposed highlights. The key is to still face some open light for even tones.
Step 5: Adjust Your Camera Settings
Learn how to tweak your settings. Lower your ISO on bright days to avoid overexposure. Use a wider aperture for soft backgrounds. Play with shutter speed to capture motion or freeze action.
Step 6: Watch the Weather
Overcast days are a hidden gem for beginners. The clouds act as a natural diffuser, softening the light. Your photos will have even tones without harsh shadows.
Step 7: Practice Makes Perfect
Natural light can be unpredictable, so keep practicing. Experiment with angles, times, and conditions. The more you shoot, the better you’ll understand how light works.

Tips for Choosing the Best Time for Your Photo Goals
The time of day you choose for your photos can make a huge difference. Light changes everything, from the mood to the details in your shots. Picking the right time depends on what you’re aiming for. Let’s take a deeper look to match the time of day with your photography goals.
Morning for Fresh and Soft Tones: Morning light is soft and diffused, perfect for creating a calm and peaceful vibe. It’s ideal for portraits, nature photography, or capturing dew-covered details. The world is quieter, so you won’t have to dodge too many people.
Golden Hour for Warm, Flattering Light: The golden hour happens just after sunrise and before sunset. The light is warm and soft, giving your photos a dreamy quality. This is the best time for portraits and landscapes. If you’re after Instagram-worthy shots, this is the perfect moment for your photos.
Midday for Bold and Bright Images: Midday light is harsh but can work for dramatic, high-contrast shots. Use it for street photography or capturing architectural details. Just avoid direct sunlight on your face.
Blue Hour for Moody and Magical Photos: The blue hour happens right after sunset or before sunrise. It gives your photos a cool, moody tone, perfect for cityscapes or silhouettes.
Overcast Days for Even Lighting: Clouds diffuse the sunlight, creating soft and even light. This is perfect for portraits, product photography, or any scene where harsh shadows would be distracting. Timing is everything, so choose wisely.
Conclusion
You already know that the main key for outdoor photography is timing. Light changes throughout the day, and choosing the right time can completely transform your photos.
By understanding how light behaves at different times you can plan better and capture shots. It will help you to take photos at the best time of day outdoors. Stay with us for more updates shortly.

