
Photo by Anna Shvets on Pexels
You do not need a studio, a fancy camera, or a professional backdrop to capture your baby’s first year. Some of the most meaningful photos come from a simple setup at home: soft window light, a favorite blanket, and a little patience.
This guide breaks the first year down into twelve simple ideas, one for each month, so you always know what to try next. By the time your baby turns one, you will have a full, honest story of their growth, shot right in your own living room.
Month 1: Keep It Simple with Newborn Basics
The newborn stage moves fast, so keep your first setup simple. Swaddle your baby in a soft blanket and place them near a window where natural light can do most of the work for you.
Side light from a window creates gentle shadows that show off tiny features like eyelashes and fingers, without the harshness of an overhead lamp or on camera flash.
Newborns sleep most of the day, so this is a patience game. Wait for a calm window right after a feeding, when your baby is more likely to stay still for a few extra minutes.
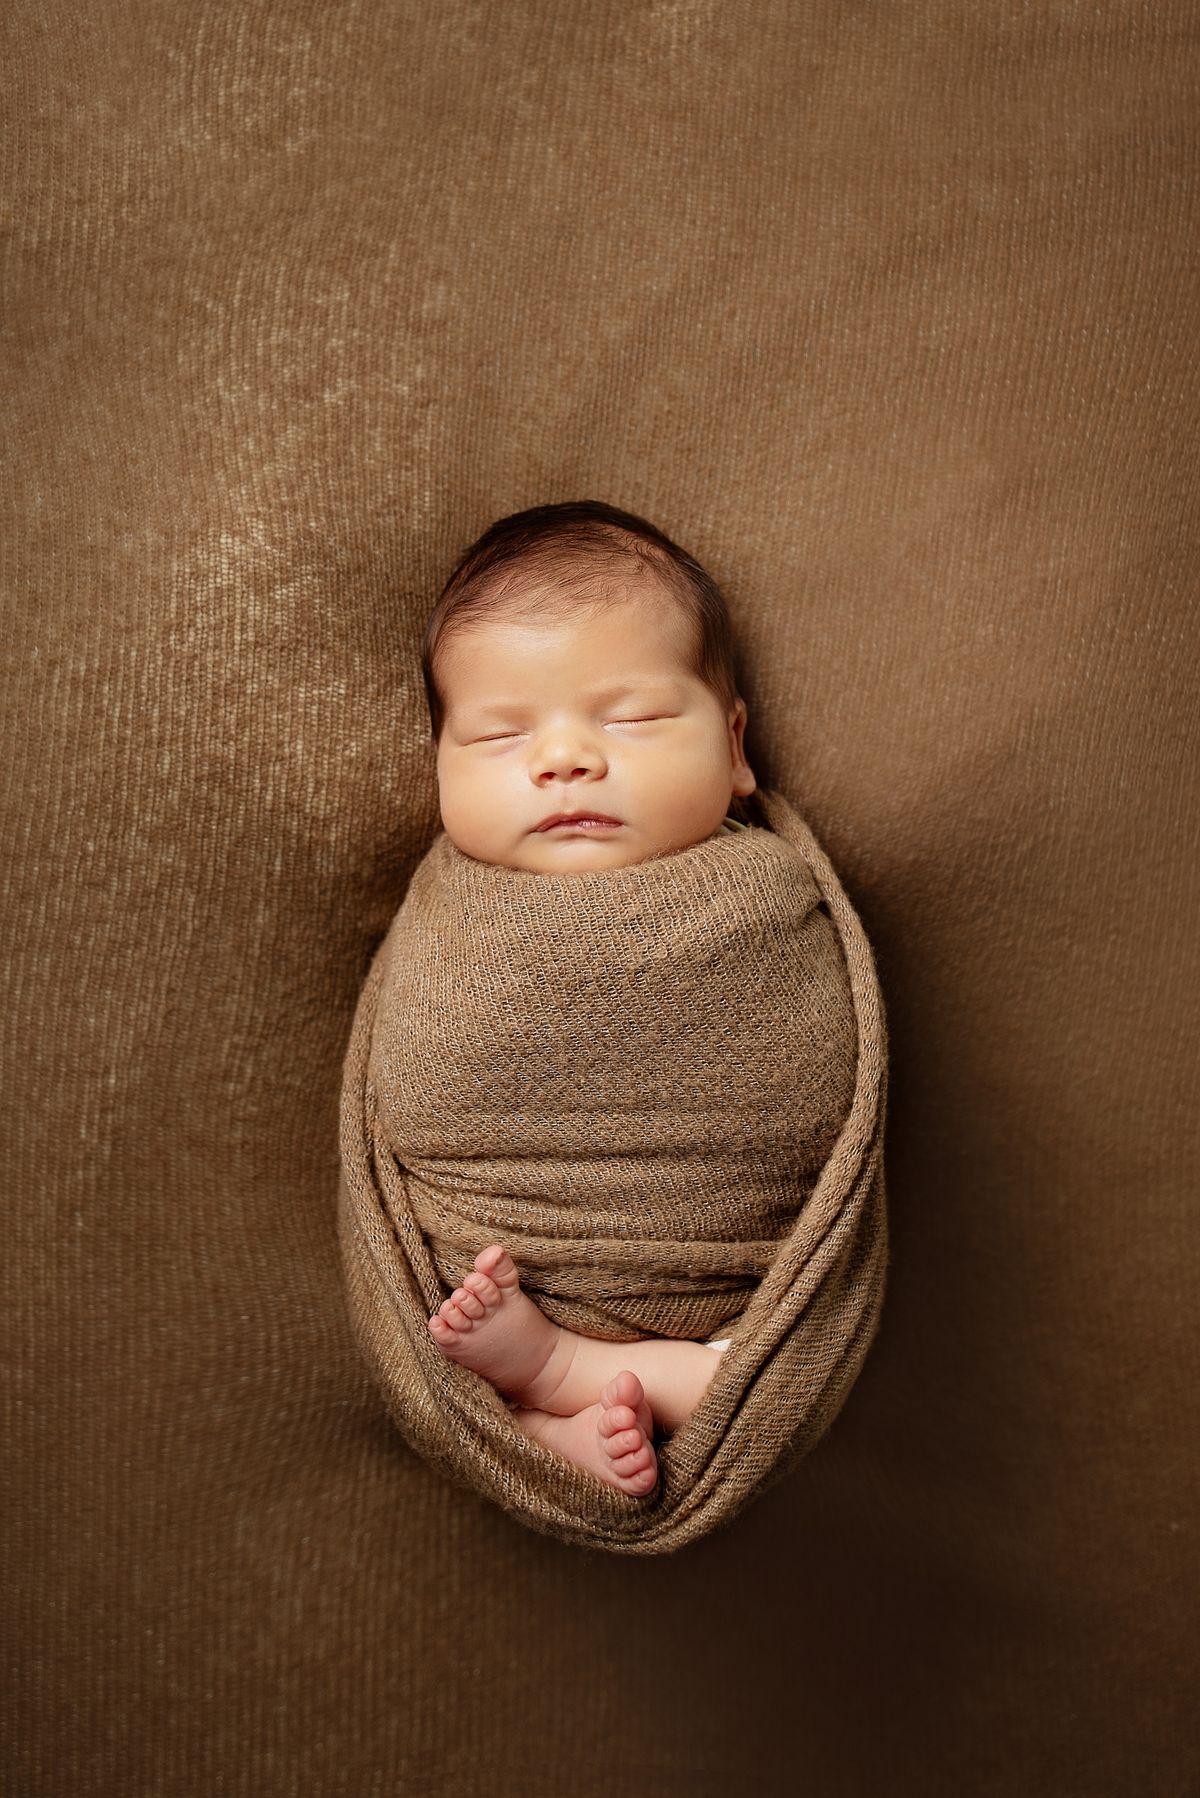
Photo by br prch on Pexels
Try this: Shoot during a nap right after a feeding, and set your aperture as wide as your lens allows, like f/2.8, for a soft blurred background that keeps all the attention on your baby.
Month 2: Catch the First Alert Eyes
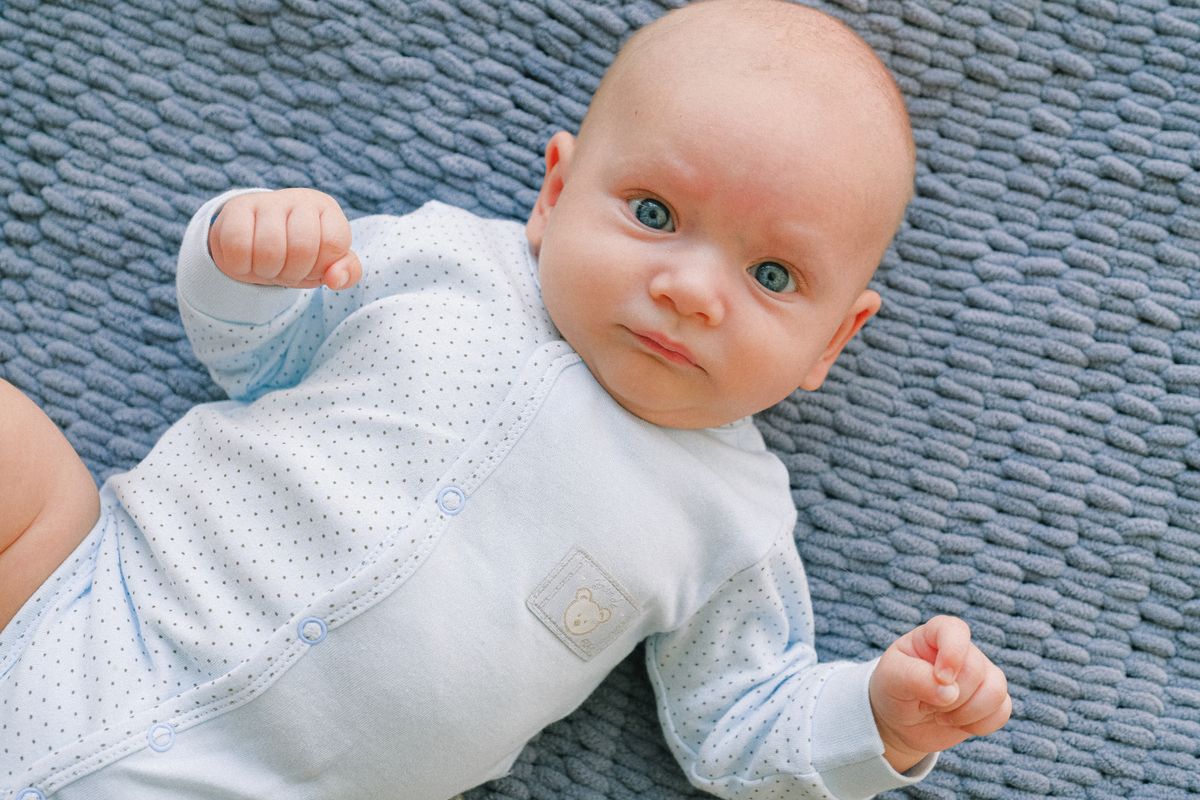
By month two, your baby is spending more time awake and alert. Lay them on a blanket on the floor near a window and let their curious eyes become the focus of the shot.
Keep the composition simple. A little negative space around your baby, rather than filling the whole frame, gives the photo a calm and airy feeling.
Shooting from directly above, with your camera parallel to the floor, avoids the slightly distorted look you get from an angle.
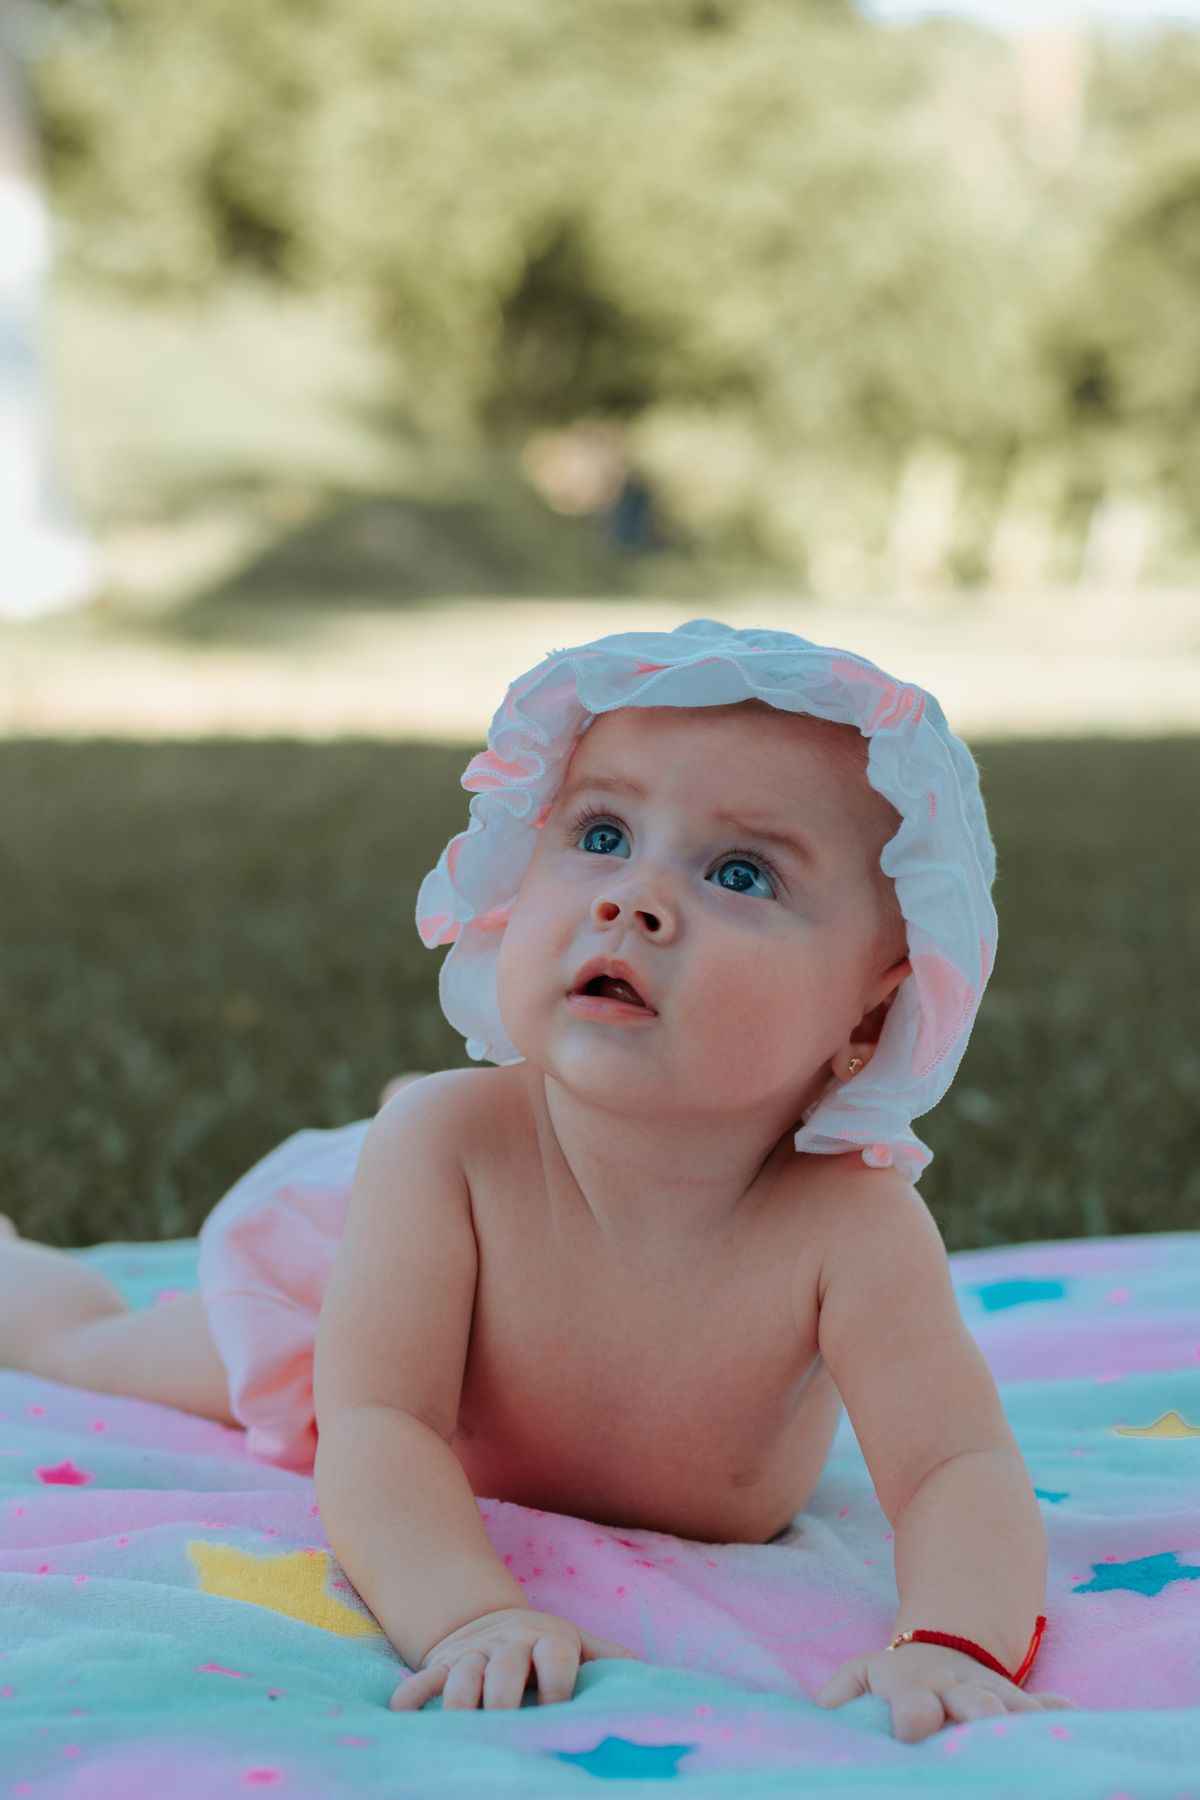
Photo by Catalina Herrera on Pexels
Try this: Get down on the floor with your baby, or shoot straight down from above, so the perspective stays natural instead of stretched or tilted.
Month 3: First Real Smiles
Around month three, real smiles start to show up, not just the reflexive ones from earlier weeks. Have someone stand just behind you making silly sounds or funny faces while you keep your camera ready.
A 45 degree angle instead of a straight on shot adds a bit more dimension and depth to the portrait.
Smiles come and go in a split second, so you want to be ready to shoot several frames in a row rather than waiting for the perfect single moment.
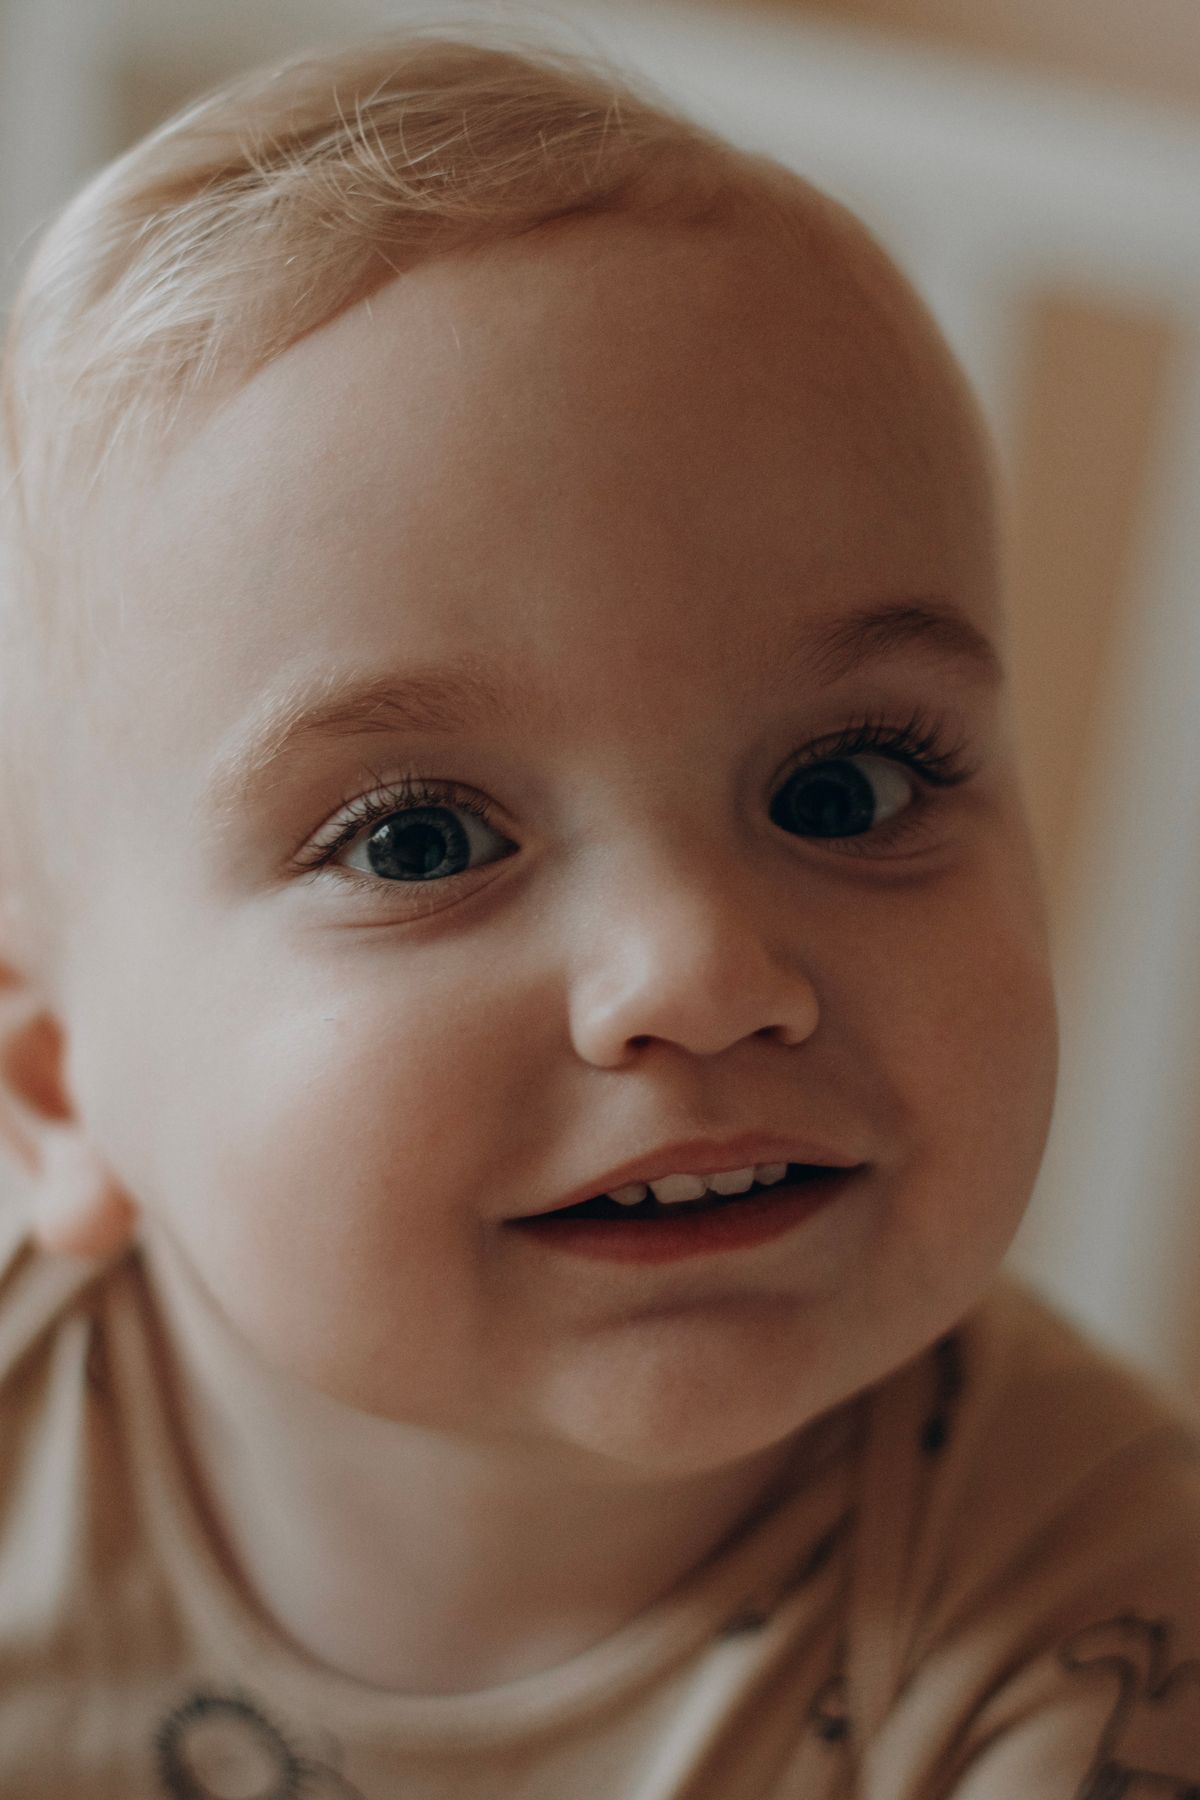
Photo by Tetiana Kos on Pexels
Try this: Switch your camera to burst or continuous shooting mode so you capture the whole smile instead of missing it between shots.
Month 4: Tummy Time Textures
Tummy time gives you a great chance to try a new angle. As your baby lifts their head and chest, get down low on the floor for a true eye level shot.
A textured knit blanket or soft rug adds visual interest to the frame without pulling attention away from your baby.
This is also a good stage to start noticing your baby's personality coming through in their expressions, whether that is determination, curiosity, or the occasional frustrated grunt.
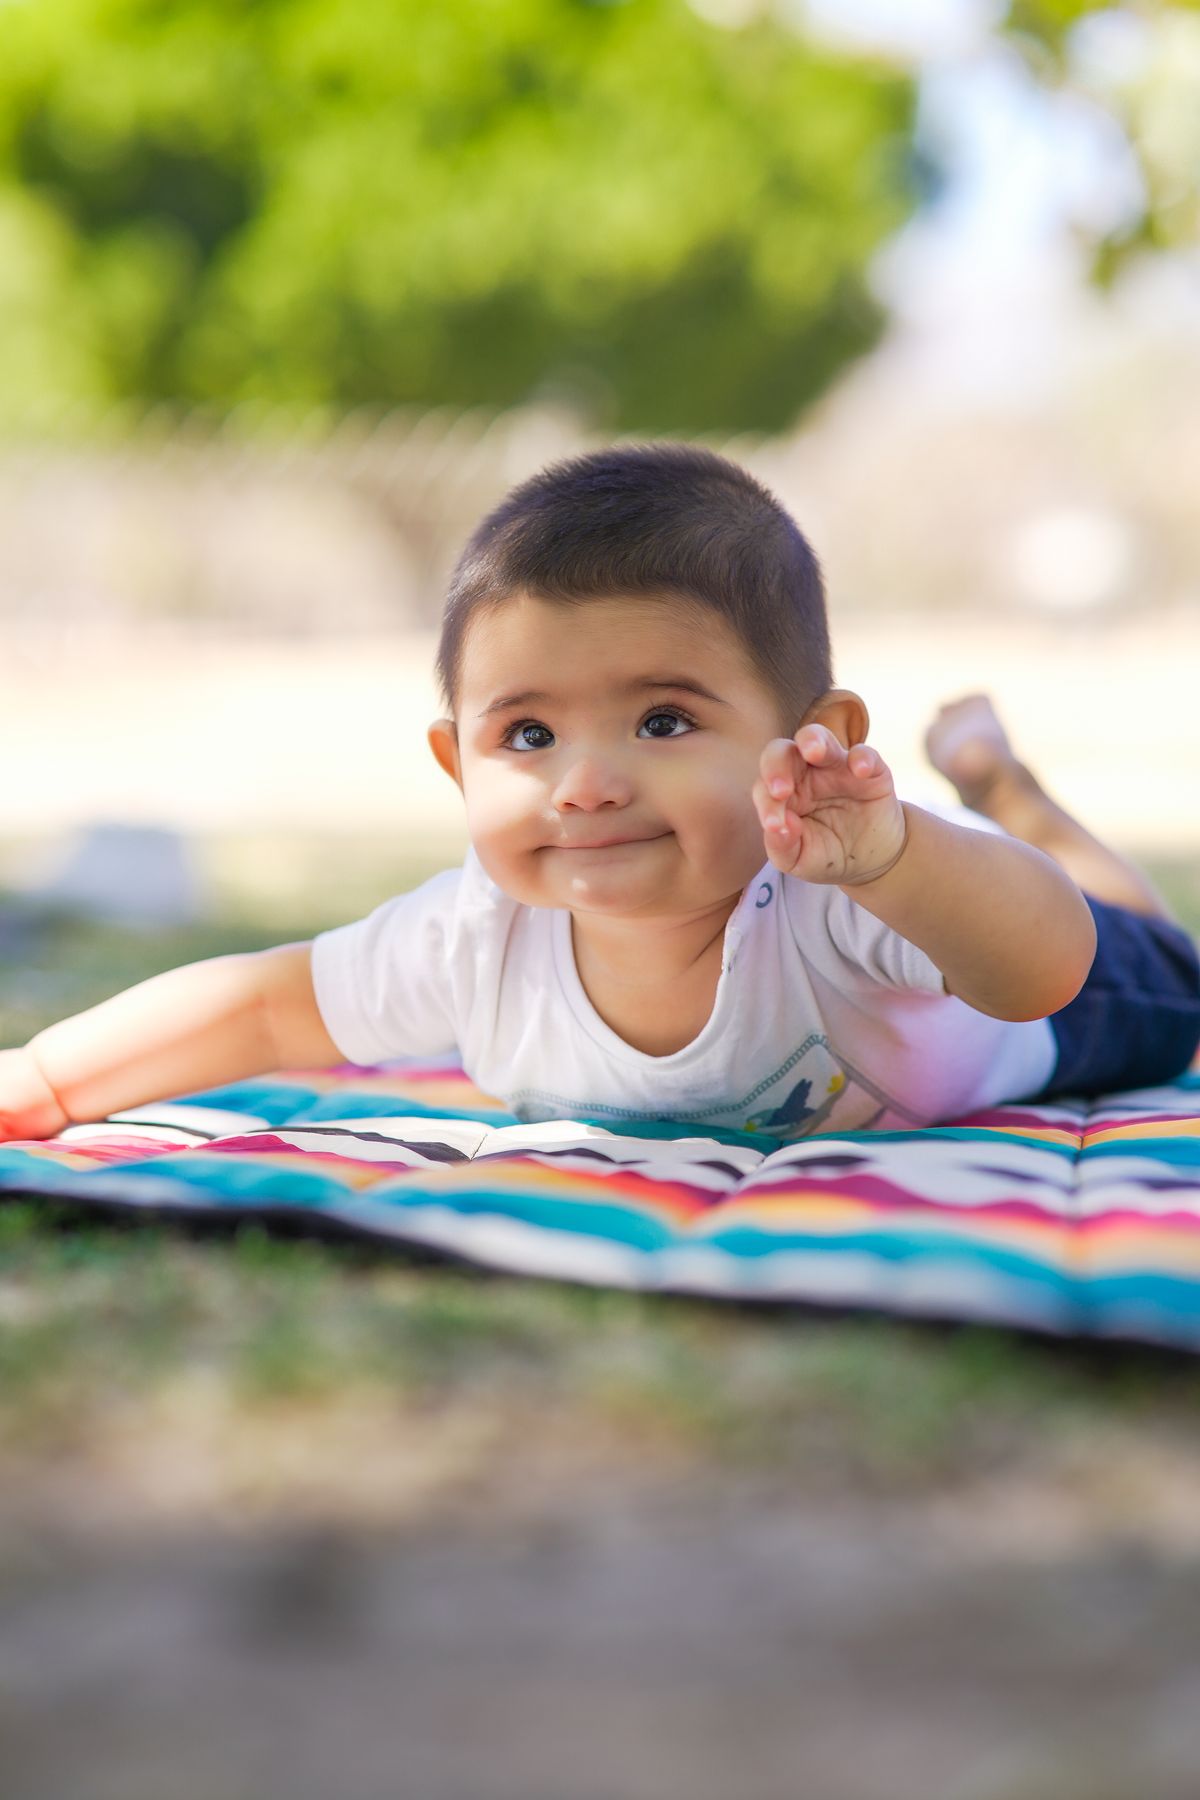
Photo by Luis Becerra Fotógrafo on Pexels
Try this: Rest your camera or phone right on the floor for a genuine eye level perspective instead of shooting down at your baby.
Month 5: Supported Sitting Portraits
Some babies start practicing a supported sit around month five. A rolled towel or nursing pillow just out of frame can help prop them up safely while you shoot.
Keep the backdrop simple, a plain wall or a neutral blanket works well, so the focus stays on your baby's face and growing expressions.
Soft side lighting from a window continues to be your best friend here, giving a gentle, flattering glow without harsh shadows.
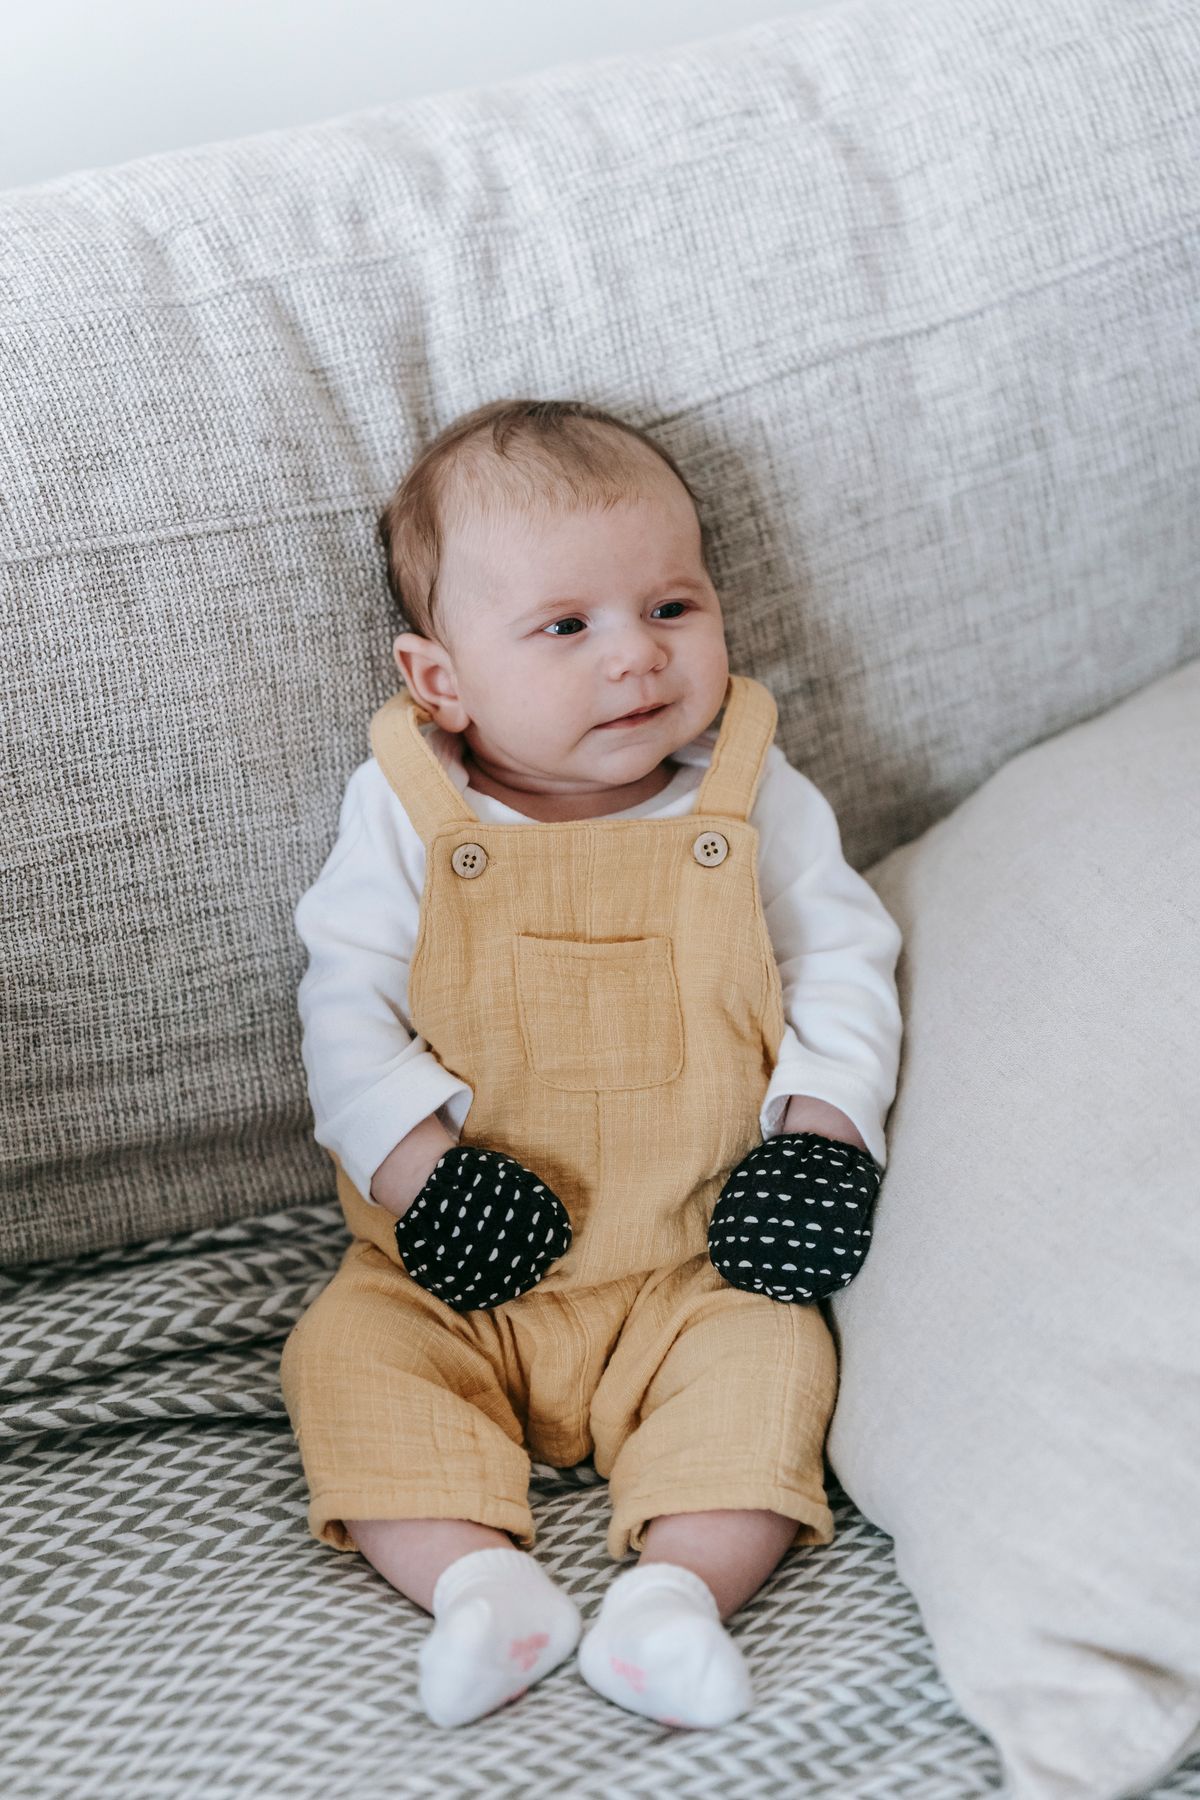
Photo by Sarah Chai on Pexels
Try this: Keep one hand ready just out of frame at all times, since a supported sit can wobble without warning at this age.
Month 6: Sitting Up Solo
Many babies can sit unsupported by month six, which opens up a lot more framing options. Shoot from the front and slightly above to capture their full body along with their expression.
This is a great point to pick one blanket or backdrop color and stick with it for the rest of the year. Looking back at a consistent series from month one through month twelve is incredibly rewarding.
If a shot does not turn out quite right in camera, that is completely normal. A little editing afterward, like brightening the exposure or smoothing out a distracting background, can make a big difference. Services like Fast Clipping Path handle this kind of touch up work if you would rather have a professional finish without learning it yourself.
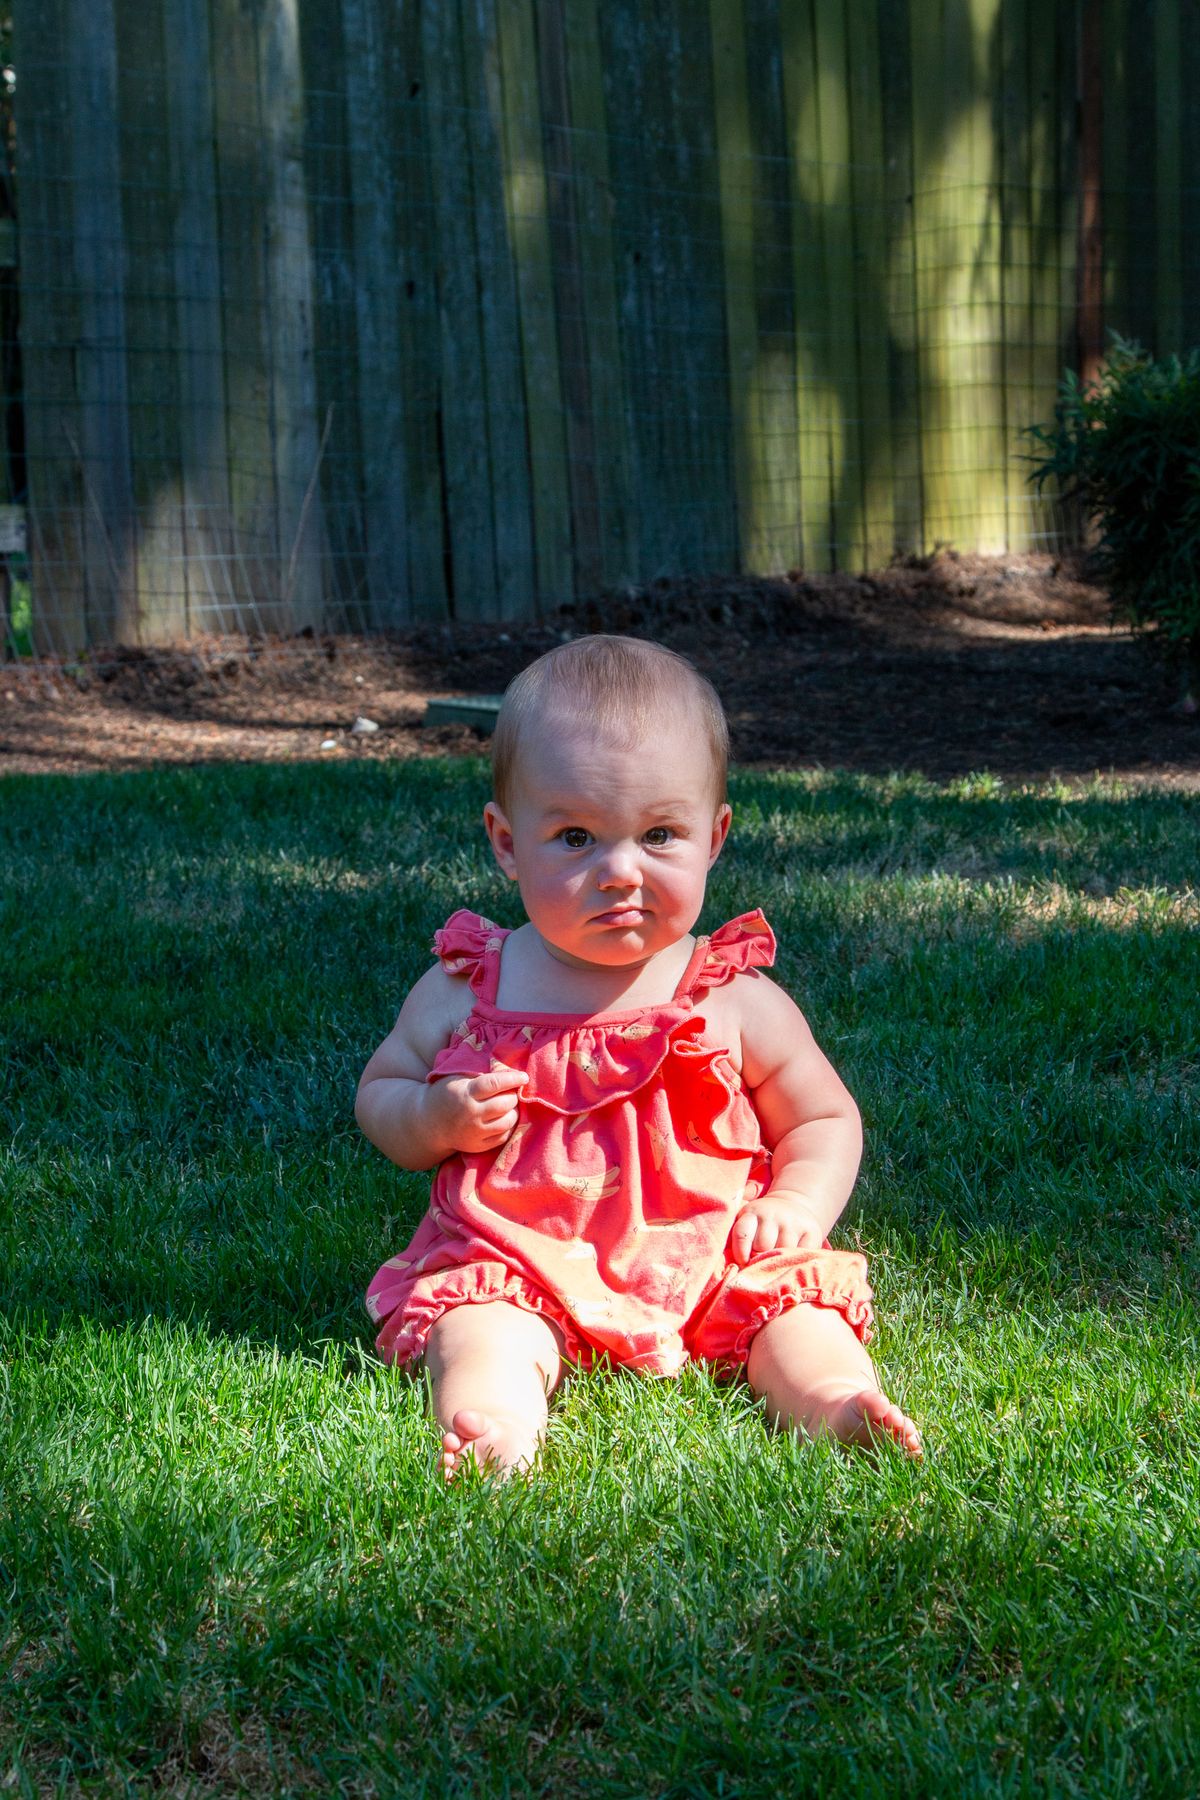
Photo by Loren Castillo on Pexels
Try this: Choose one blanket or backdrop color now and reuse it every month, it turns your individual photos into a cohesive year long story.
Month 7: Reaching and Rolling Action
Babies are moving a lot more by month seven, reaching for toys and rolling across the floor. Let the scene be a little messier and candid instead of posed, it usually feels more authentic.
A faster shutter speed helps freeze these quicker movements instead of ending up with a blurry frame.
Try shooting a whole sequence as your baby reaches and rolls, rather than waiting for one perfect still pose.
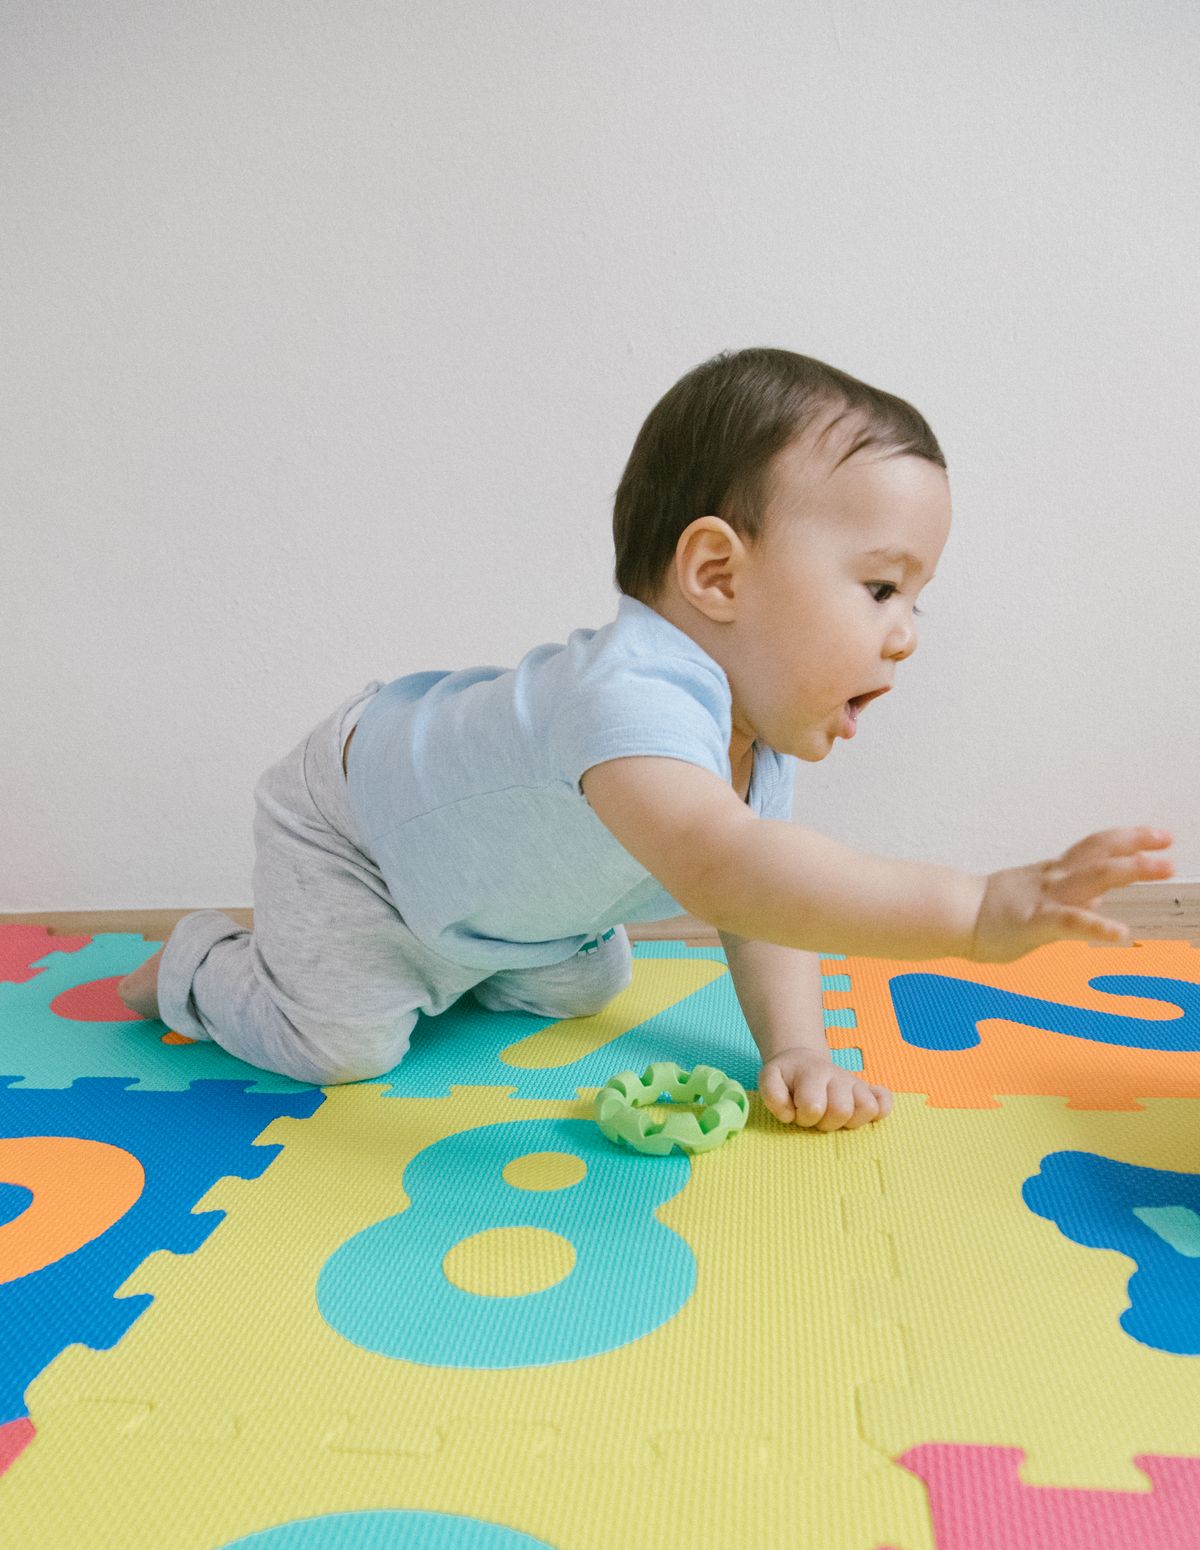
Photo by Meruyert Gonullu on Pexels
Try this: Bump your shutter speed up to at least 1/250s so quick little movements stay sharp instead of blurring.
Month 8: Peekaboo and Props
Month eight is a fun time to introduce one simple prop, like a soft blanket for a peekaboo moment or a favorite toy for an interaction shot.
Keep it to just one prop at a time. Too many objects in frame competes with your baby for attention instead of supporting the photo.
Peekaboo shots in particular tend to capture genuine laughter, which makes for some of the most memorable images in the whole series.
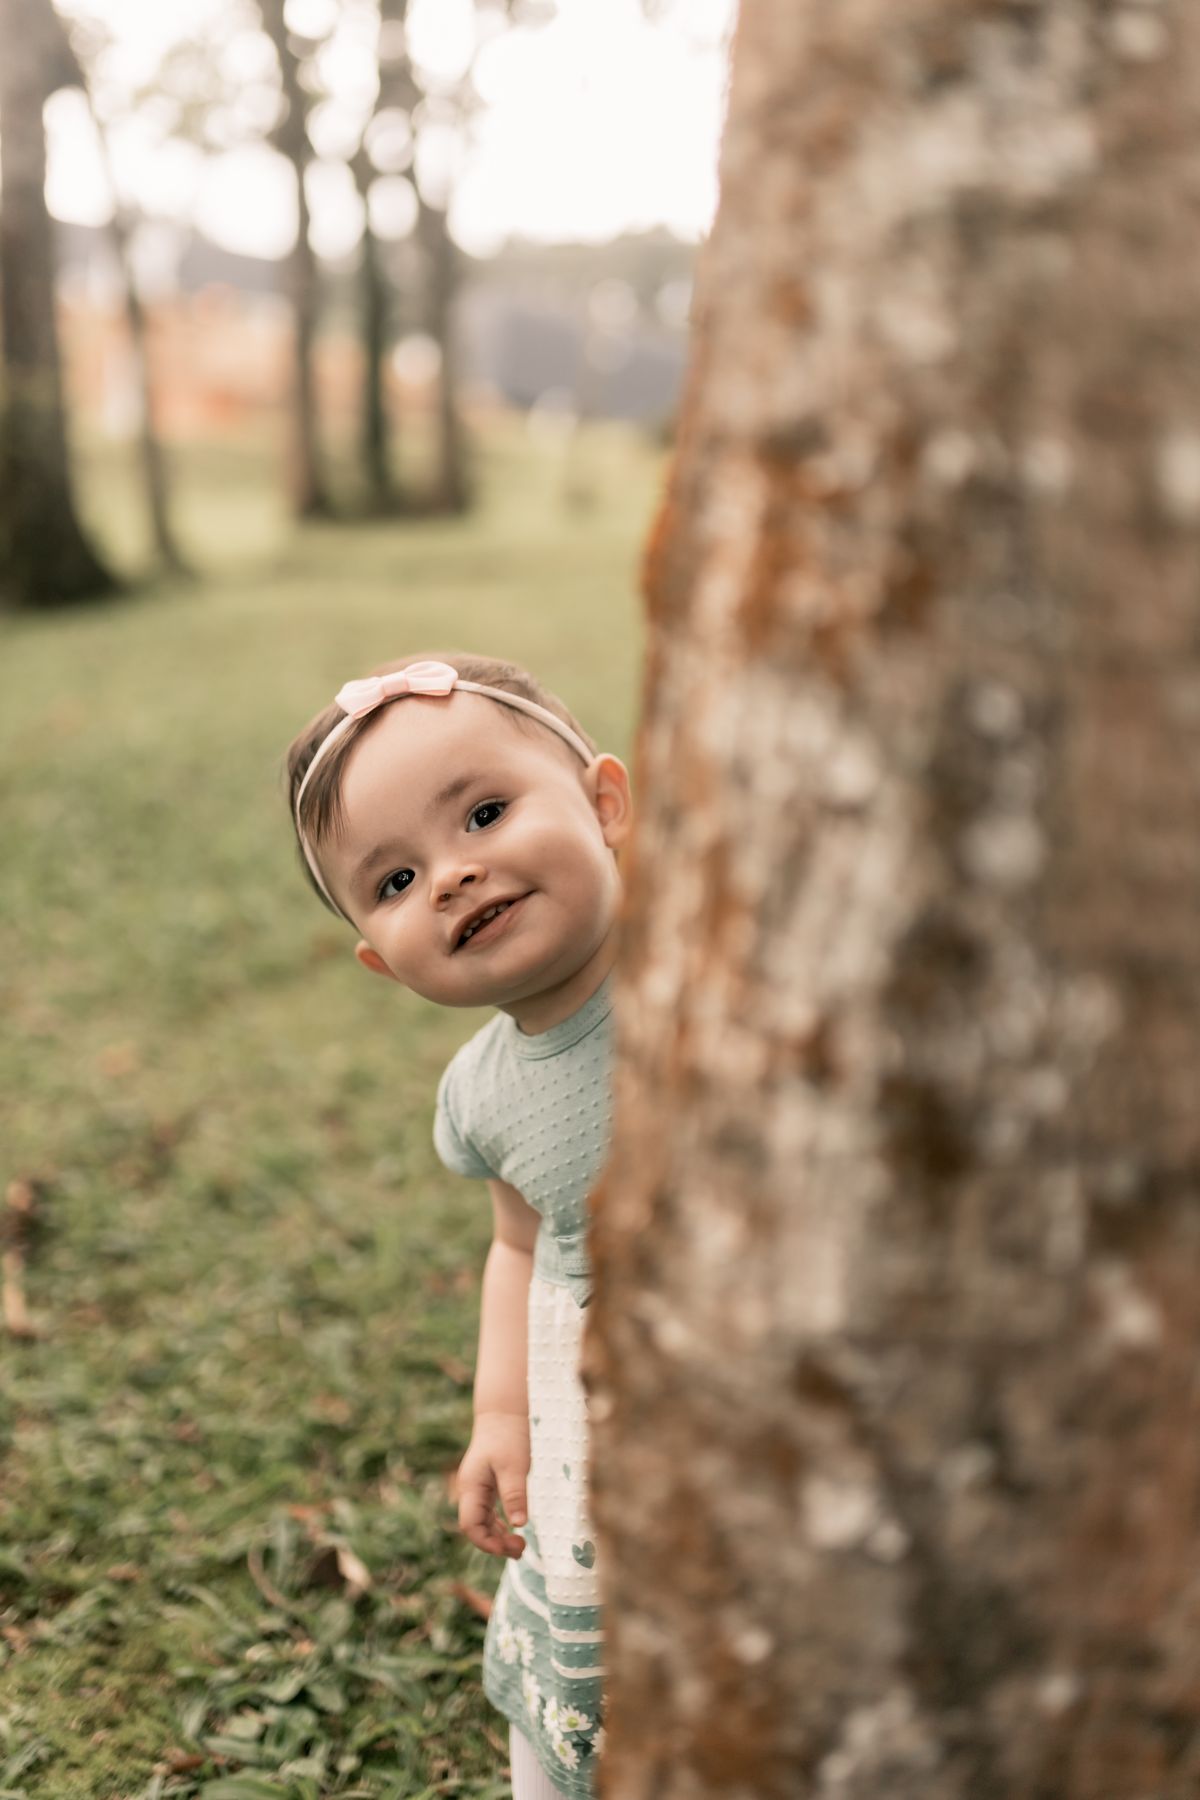
Photo by Alexander Mass on Pexels
Try this: Stick to a single small prop per photo so it complements your baby's expression instead of stealing the spotlight.
Month 9: Crawling in Motion
Crawling opens the door to real action shots. Get down low and follow your baby's movement across the room rather than shooting from a standing position.
A hallway or open floor space near a doorway or window gives you soft, directional natural light and a documentary feel.
Continuous or tracking autofocus becomes especially useful here, since a crawling baby rarely stays in one spot for long.
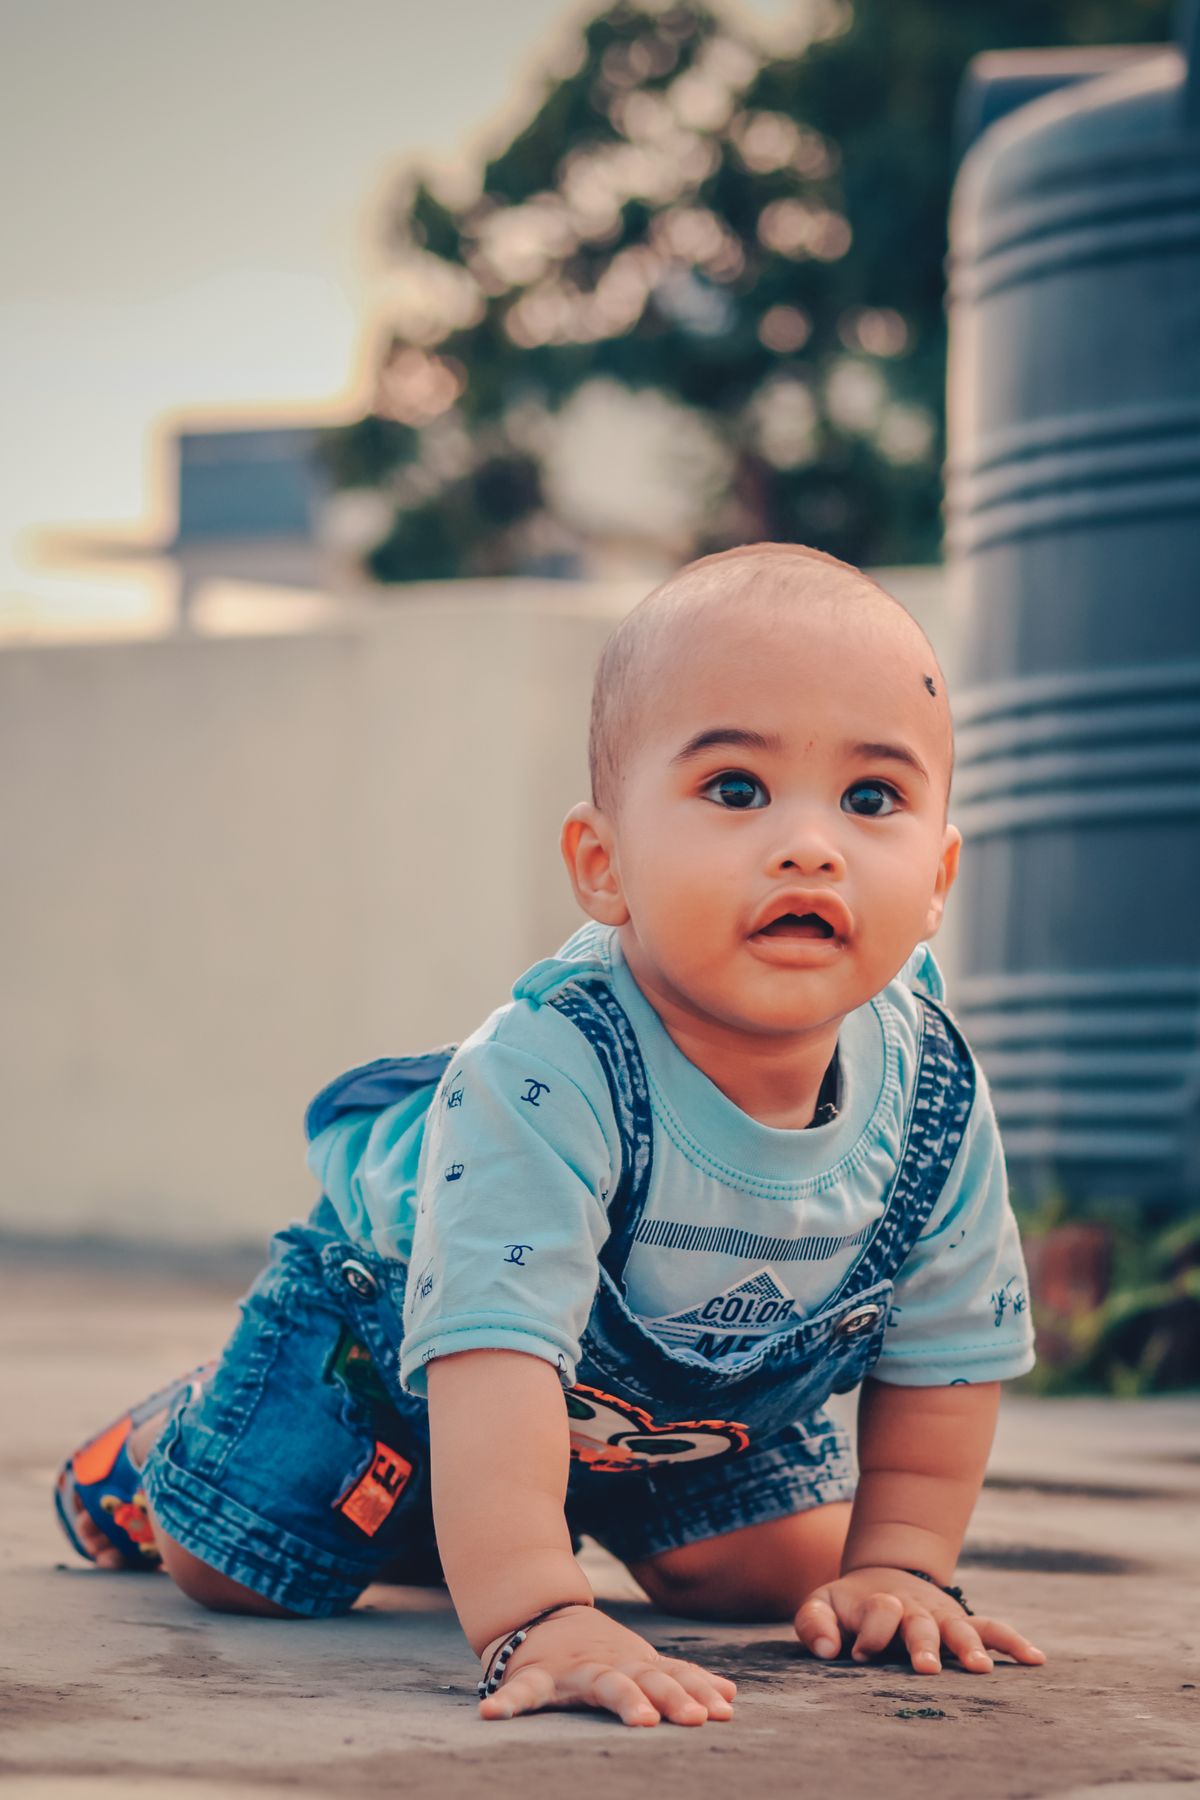
Photo by Shubham Rawat on Pexels
Try this: Switch your autofocus to continuous or tracking mode so a moving baby stays sharp instead of slipping out of focus.
Month 10: Standing and Cruising
Around month ten, many babies are pulling up to stand and cruising along furniture. Shooting from a slightly lower angle emphasizes just how much taller and more independent they are getting.
Try including a bit of the surrounding environment, like the couch or crib they are holding onto, instead of cropping in too tight. It helps tell the fuller story of this stage.
This is also a great age for capturing that proud, accomplished expression babies get when they realize they are standing on their own.
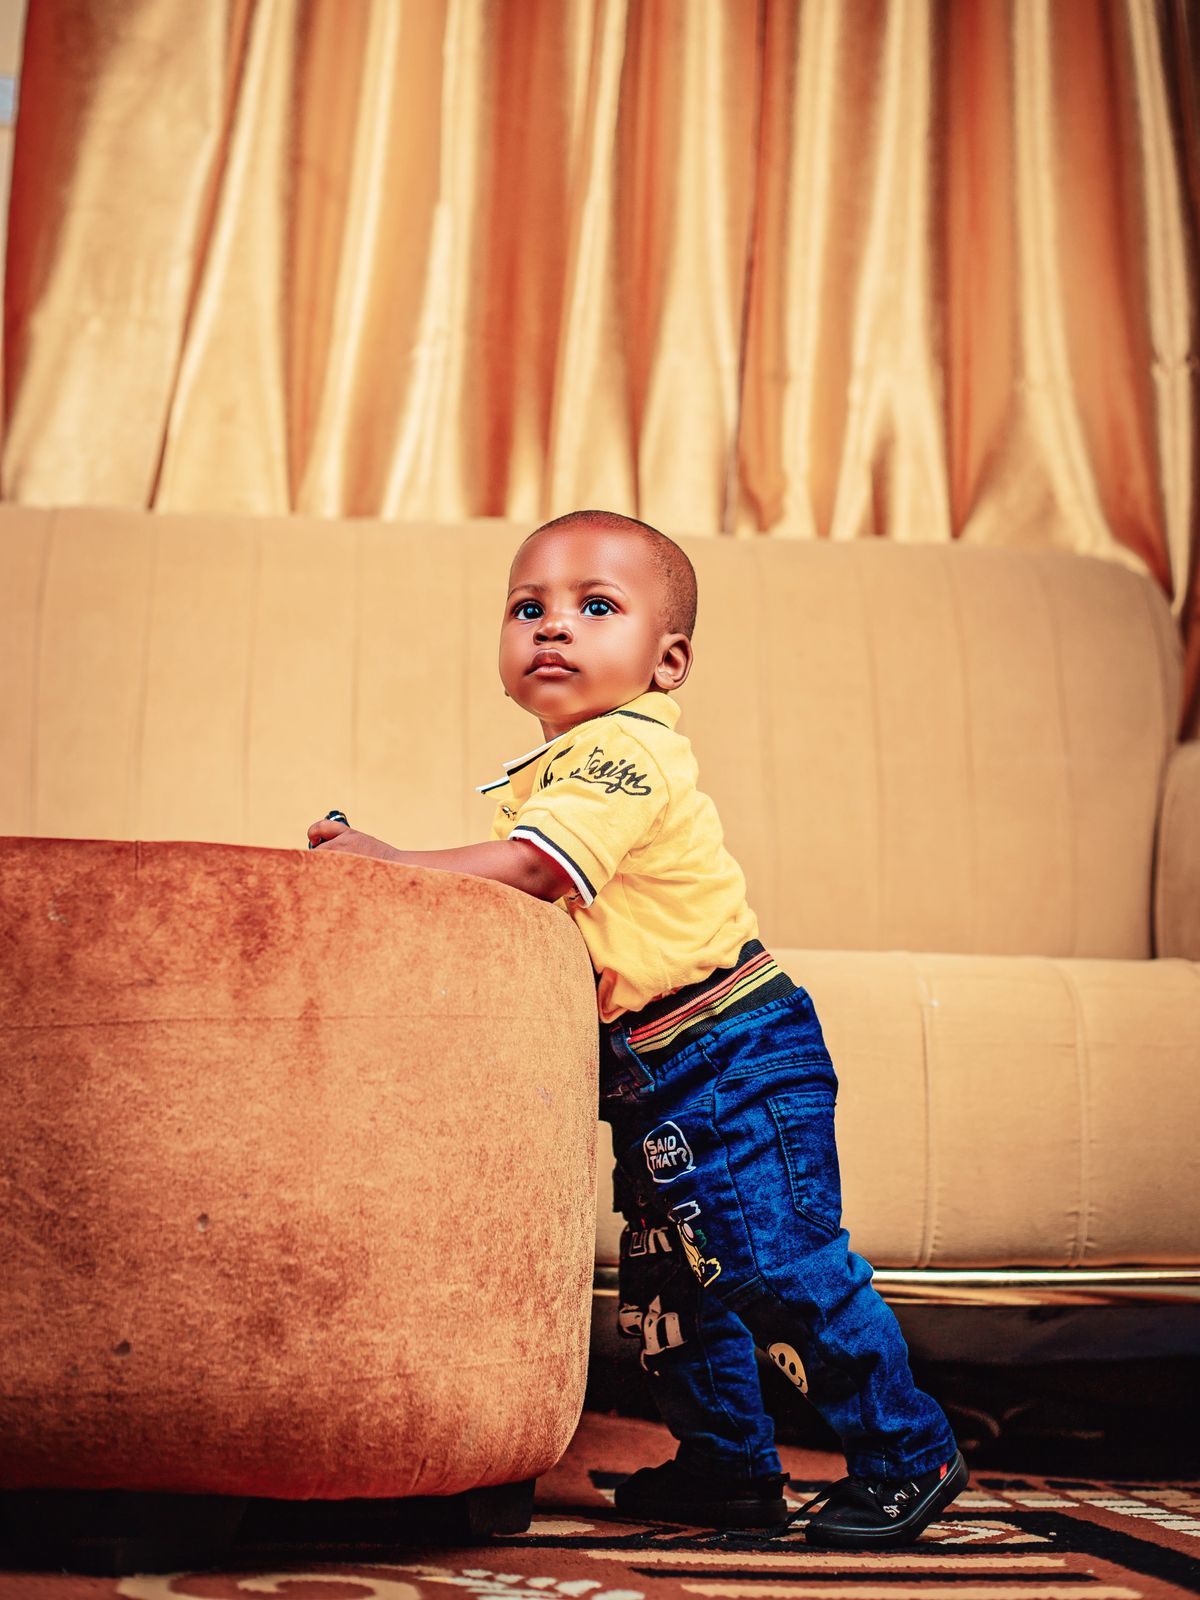
Photo by shamoo portrait on Pexels
Try this: Shoot a little wider than usual so the furniture or object they are holding onto stays in frame, it adds context to the milestone.
Month 11: Personality Close-Ups
By month eleven, your baby's personality really starts to shine through, whether that is laughing, concentrating hard on a toy, or giving the camera a curious look.
Focus in tightly on the face for these shots and lean into candid moments during play rather than posed setups.
Turning off your flash and relying on natural window light lets soft shadows show real texture and expression instead of flattening everything out.
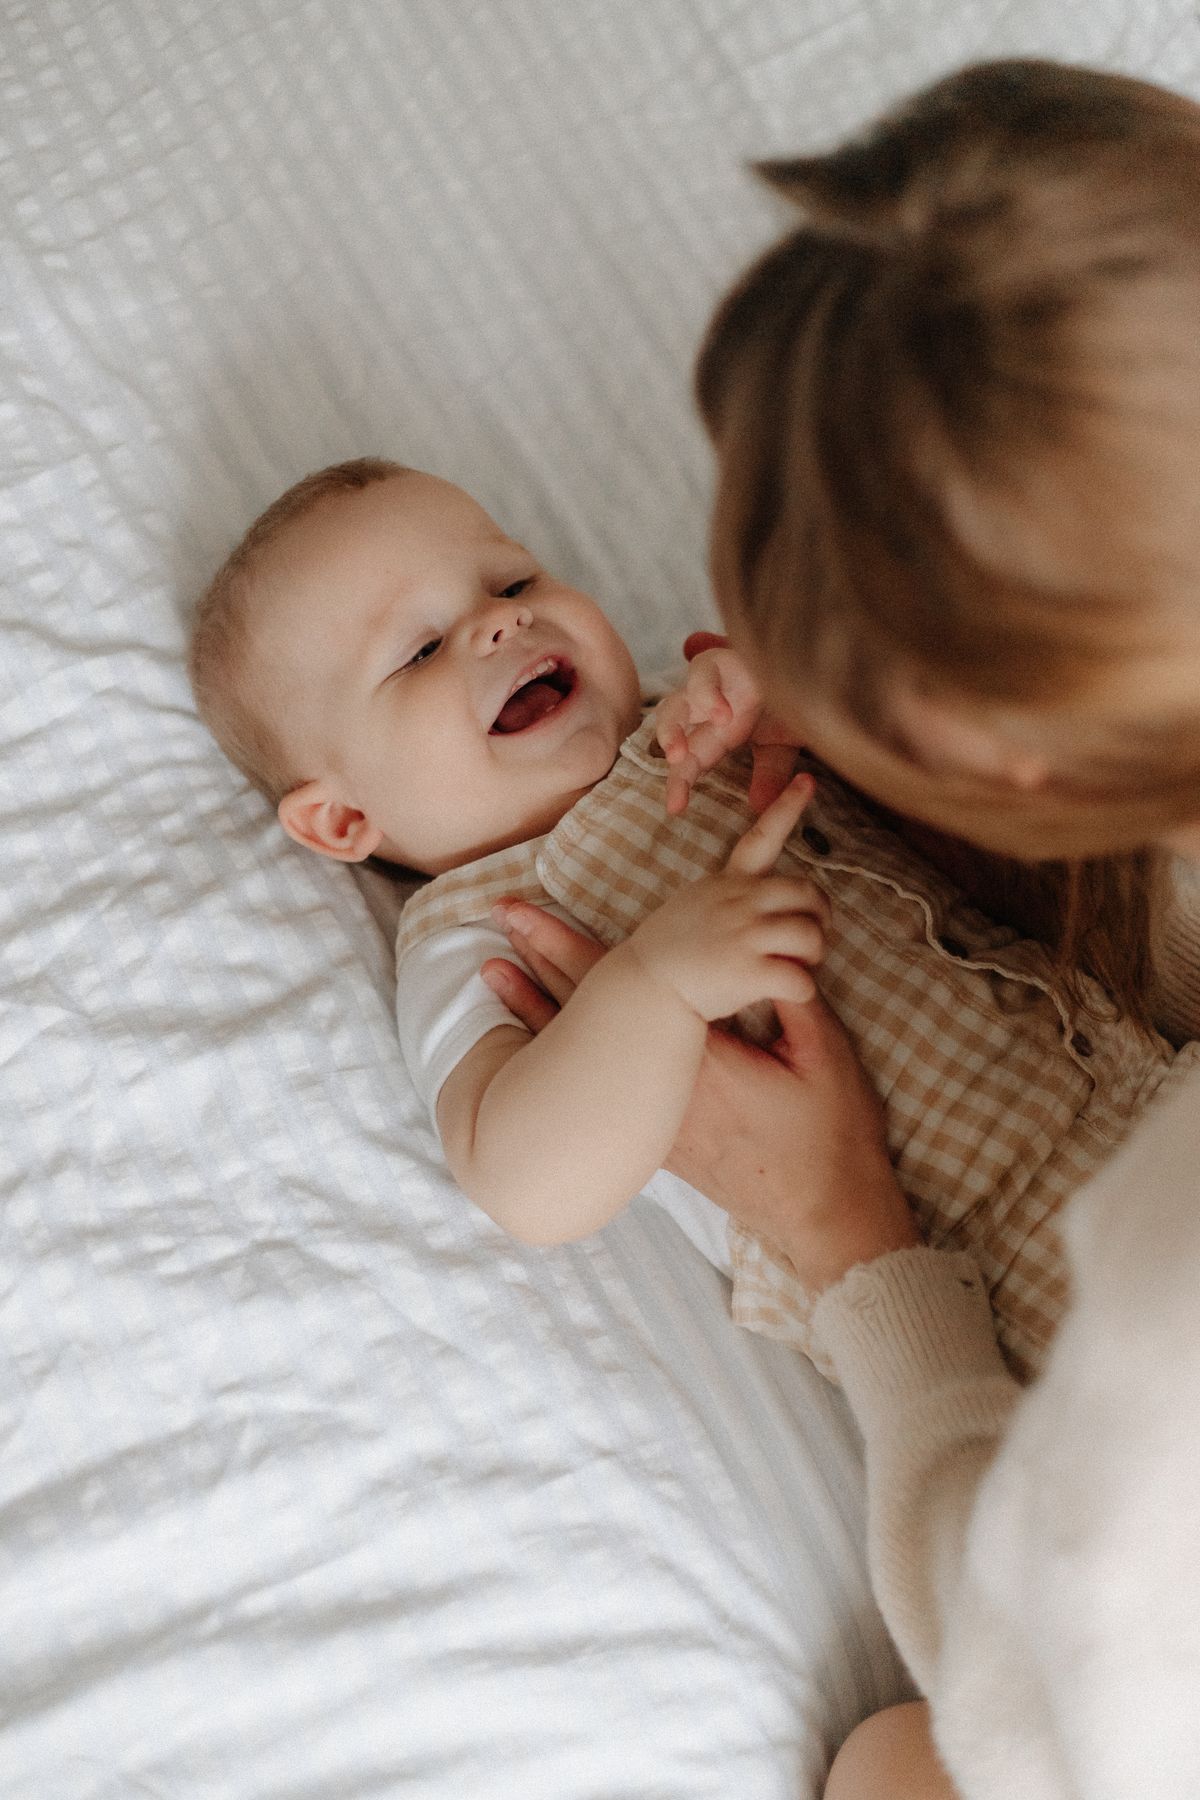
Photo by Карина Суховерхая on Pexels
Try this: Turn off the flash entirely and let window light shape soft, natural shadows across your baby's face for a more genuine feel.
Month 12: The First Birthday Portrait
The final month calls for a slightly more intentional shot. A simple cake smash, a handmade ONE sign, or balloons can mark the occasion without needing an elaborate setup.
For an especially powerful image, recreate the exact framing, blanket, and spot you used back in month one. Seeing both photos side by side shows just how much your baby has grown over the year.
Once you have all twelve months captured, a little consistent editing across the set, matching brightness, tones, and cropping, ties the whole story together and makes it look intentional rather than random.
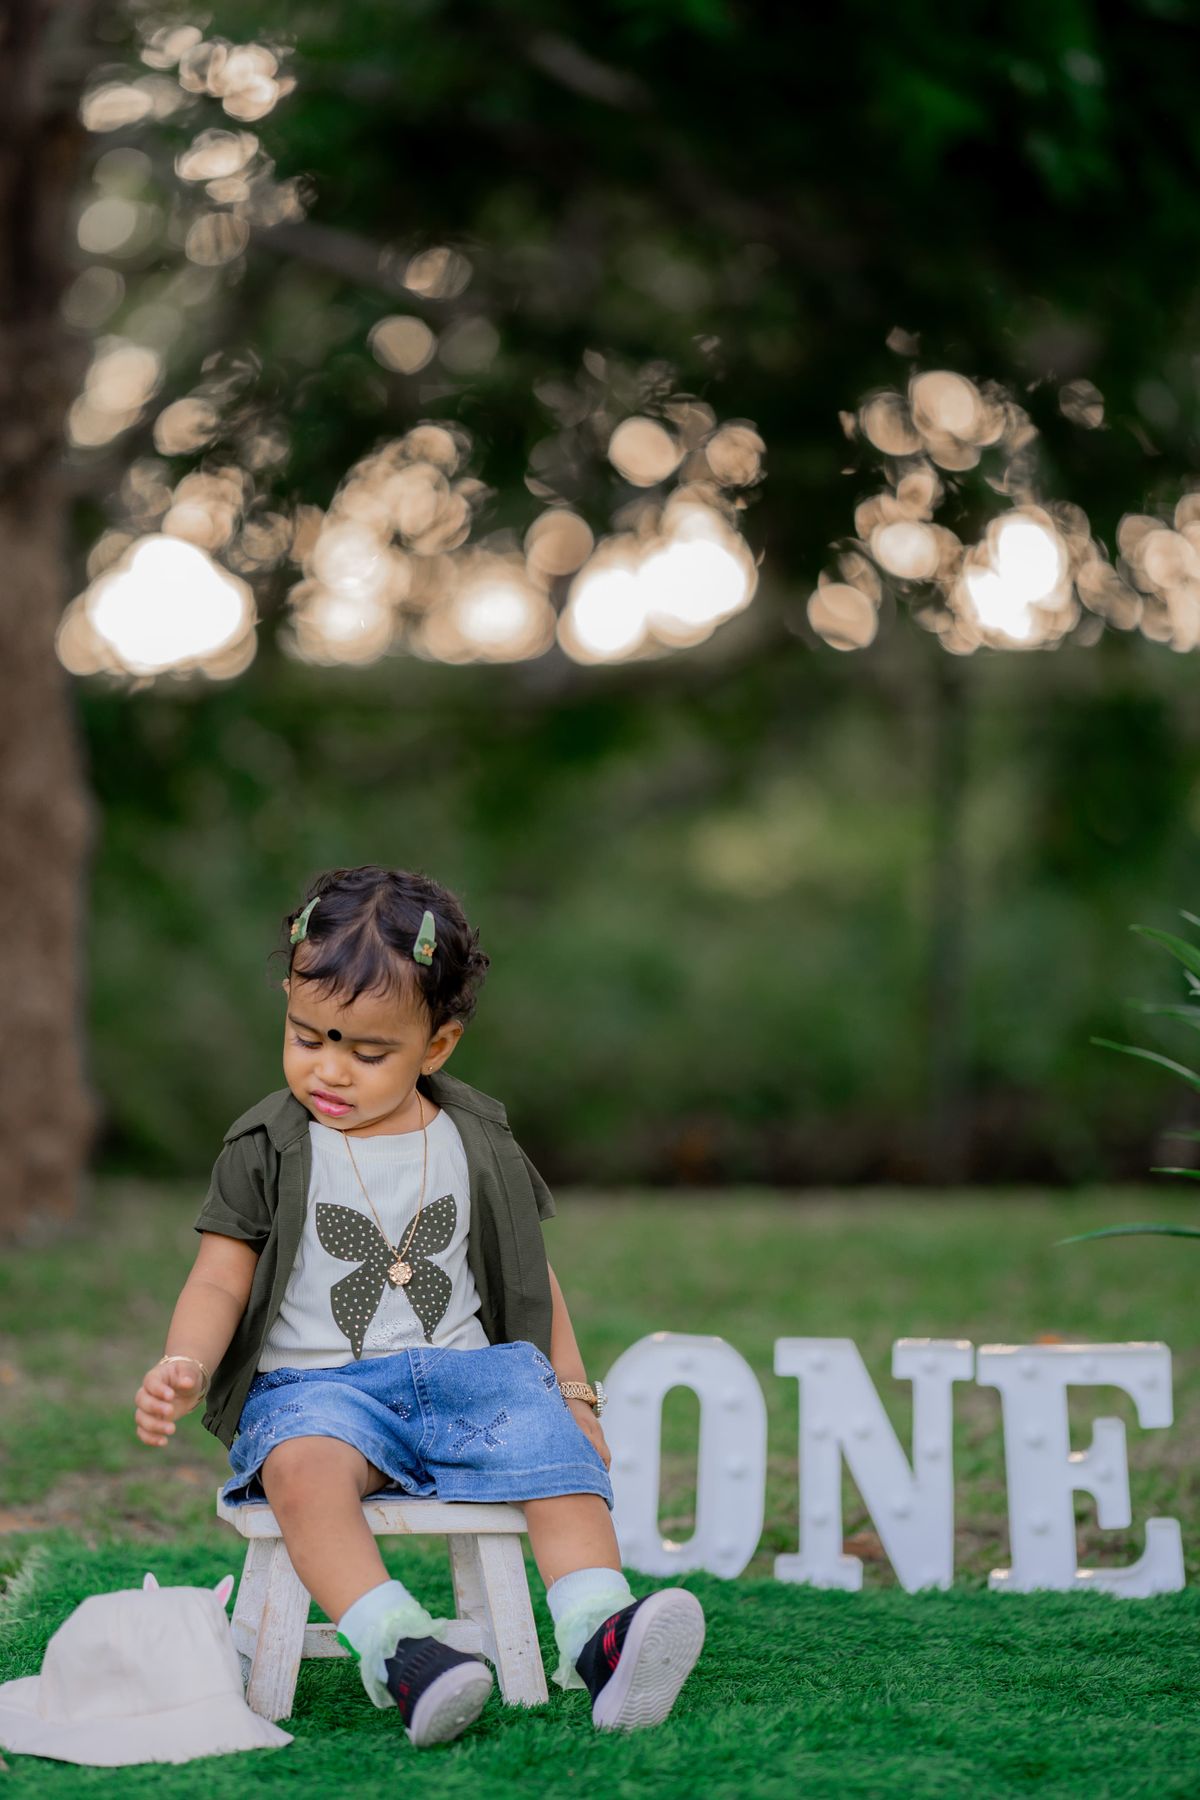
Photo by AP 0015 H.M.S.N Lakshani on Pexels
Try this: Recreate your month one framing and blanket exactly for a striking before and after comparison of your baby's first year.
Final Thoughts
You do not need to nail every single month perfectly. Some days your baby will not cooperate, the light will not be quite right, or you will simply forget to grab the camera. That is completely normal, and it is part of the story too.
What matters most is showing up with your camera a little each month and letting your baby’s personality lead the way. Once you have your twelve photos together, a bit of consistent editing, matching tones, cropping, and cleaning up small distractions, can turn your collection into something you will treasure for years. If you would rather leave that part to the professionals, Fast Clipping Path can help polish your final shots so they look every bit as special as the moments themselves.